
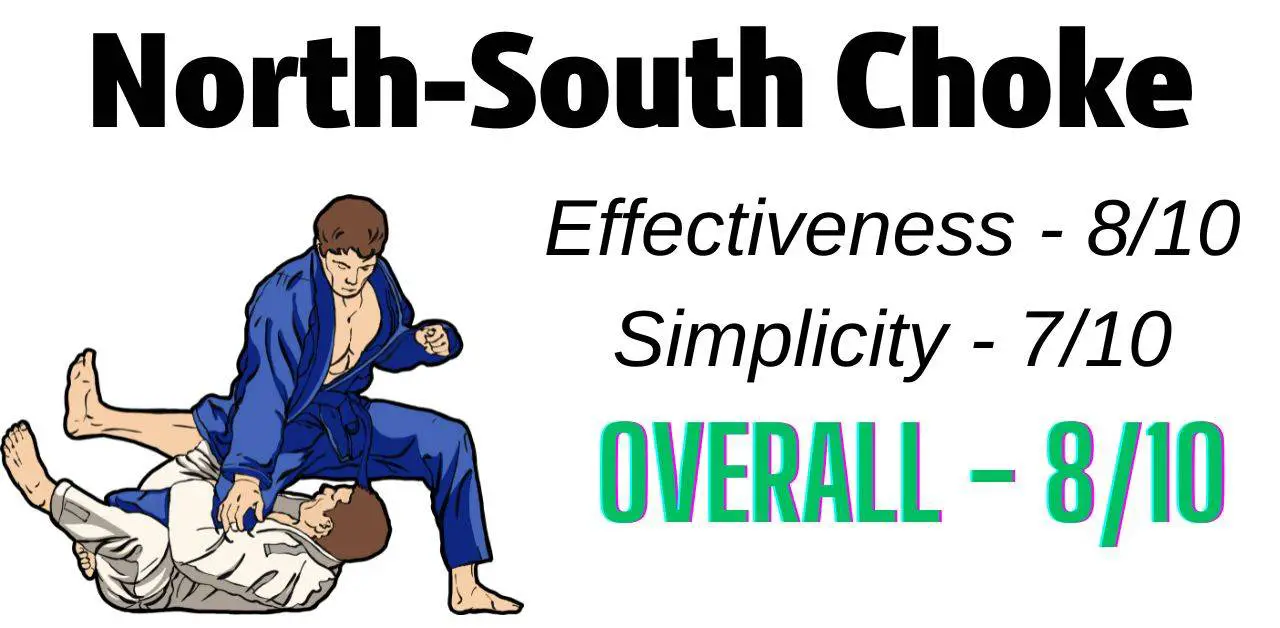
Let me get straight to the point. You’ll be able to perform the North-South Choke exceptionally well after reading this article. But reading isn’t enough. You have to take the fundamentals you learn here and implement them on the mat.
You’ll be able to gain experience, which is more valuable than any word will ever be. And still, I’d like to invite you to bookmark this article. This guide will review 4 variations of this choke, which you want to learn each on their own and not simultaneously.
That’s why you want to have easy access to this article. Once you got comfortable with variation #1, you can advance to #2, and so on.
The 1st part of this article will define what the North-South Choke is. The 2nd part will review its variations, especially the ones you want to know the most. And finally, we’ll review some tips to perform it flawlessly and get more taps + ways to escape from it (if your opponent does it on you.)
We’ve got plenty to cover. Let’s start with the 1st part!
What is the North-South Choke?
Before we can understand this choke, we want to grasp the position that leads to it, which is the North-South position. This position is one of BJJ’s most dominant ones, as it allows you many options, such as transitioning into a more dominant position, such as Full Mount, or finishing the fight using a submission.
This position utilizes your head near the opponent’s head, but when you’re facing his feet. It allows you plenty of control because you can maintain control over the opponent’s hips, head, neck, and arms, which are fundamental control points.
So now, let’s get into what we’re all here for: what is the North-South Choke?
The North-South Choke is when you wrap your around the opponent’s neck, from above the chin until you reach the back of his head. You then transition into the North-South position while maintaining and tightening your hand wrap. Finally, you use your body weight to apply pressure and finish.
As you can see, it’s quite easy to learn and execute. A primary point to understand here is that you want to use your body weight to drop your arm on the opponent’s neck and apply as much pressure as possible.
Finally, when you walk toward his feet while maintaining your arms wrap, your hold will naturally tighten. That’s why the North-South Choke can be an excruciating experience, to say the least.
North-South Choke Variations
This part of the article is going to be about variations. This is perhaps the part you want to pay attention to the most, as it’ll review steps to execute each variant.
And eventually, it’s the most important to know because it’s, well, the technique itself. This is what we’re here for.
Pay attention. Ensure you read each paragraph to grasp as much of this potent choke as possible, allowing you to start practicing it as soon as you’re done reading this article.
I recommend bookmarking this article, and you’ll see why in the last section. To reveal why, it’ll allow you to learn each variation on its own, instead of learning all of them simultaneously. This will make you learn the different variants much quicker, in both the short and long term.
Having this article in easy access will definitely come in handy.
Let’s dive into the first one, which will be from Side Control.
North-South Choke From Side Control
This variation will begin from the Reverse Kesa Gatame position, which is a form of side control. If you’re unfamiliar with it, I encourage you to read a guide to Side Control I wrote. It has all the fundamentals that you want to know.
So what is the Reverse Kesa Gatame? It’s when you’re in your typical Side Control with one hand wrapped under the opponent’s head and the other across his belly and controlling his far arm.
From this position, you can think about going for the North-South Choke. Let’s see what that would look like:
- Start in Reverse Kesa Gatame
- Slide your right hand below the opponent’s head
- Wrap your right hand under his head
- Shift your body weight to his head
- Walk in the direction of the opponent’s head
- Make sure to face his feet
- Keep your body weight low
- Apply more neck pressure
- Wait for the tap
Some coaches will teach you to lock your arms at the end. This is something I’m not an advocate of for one reason: finishing with one arm is plausible, and you want to practice doing that.
If you’re able to finish with just one arm, you’re performing it excellently. Understand that your opponent won’t have any counters whatsoever if you perform it appropriately while keeping your body weight low and control maximized.
Knee on Belly to North-South Choke
The Knee on Belly is a position you want to learn, as it can come in really handy when you need it most. What it allows you is an endless set of submissions, which leads to getting the tap.
If unfamiliar with the Knee on Belly, follow this link to read about the fundamentals of the Knee on Belly and some ways to finish a fight when you’re in it.
Regardless, this North-South Choke variation is deadly. It can be as powerful as making the opponent tap in under a second since there’ll be such high levels of neck pressure. So here’s how to perform it properly:
- Start in Knee on Belly
- Control the opponent’s hands
- Wrap your right arm around the opponent’s neck (counter-clockwise)
- Lean back
- Sit on the mat, right next to his head
- Apply neck pressure
- Walk toward his head
- Face his feet
- Keep your body weight low
- Lock your hands (optional step)
- Apply more pressure
- Wait for the tap
Everything we’ve discussed in the last variant applies here as well. This time, however, I’ve decided to include the optional step of locking your hands. It might be more suitable for you to do as a novice.
But I do encourage you to habituate yourself to using your other hand to disturb the opponent even more. You can use it to gain more control by pushing on the opponent’s hips, arms, and even feet—especially if he tries to use them to escape.
The more control you have, the better off you’ll be.
Kimura Grip to North-South Choke
Attaining the Kimura Grip is a good sign. It’s a sign you’re on your way to get the tap and the inevitable win. So you want to utilize the fact that you attained such a powerful grip. The obvious way of going about it is by finishing with the Kimura.
If you want to master the Kimura from its many variations, follow this link. And if you already are comfortable with it, let’s see how you can utilize a stealthy way to finish from the Kimura Grip, using the North-South Choke.
- Start standing
- Your opponent is sitting
- Step into his guard
- Grab his wrist with your left hand
- Wrap your arm around the same wrist’s arm (counter-clockwise)
- Lean forward
- Drop
- Roll
- Lock the Kimura Grip
- Get up and shift your body weight to the side
- Wrap your right arm around his head (counter-clockwise)
- Drop your body weight
- Squeeze
- Apply neck pressure and wait for the tap
This is, what I like to call, a smooth move. You’re able to surprise the opponent by immediately locking the Kimura Grip, allowing you a lot of control. Then, you don’t even bother to try to finish with the Kimura, as you’re mind is on another move.
You then let go of his hand, shift your body weight to the side, get up, and wrap your right arm around his head (like in the previous variations.) Finally, you finish by dropping your weight.
Indeed, it can be difficult to get into this position and you’ll have to train that until you’re comfortable. Don’t forget to roll and lock your Kimura Grip, simply by grabbing your own wrist.
Americana to North-South Choke
Like the Kimura, the Americana is a shoulder manipulation submission. It utilizes the same grip and allows you similar levels of control. So, what’s the difference between these two submissions? To quote another article of mine on the topic:
The primary difference between the Kimura and Americana is where the opponent’s forearm will face when executing each one; if his forearm faces downwards, it’s a Kimura. But, if his forearm faces upwards, it’s an Americana. Also, the Kimura will typically be from the bottom, while the Americana will be from the top.
Kimura vs. Americana – The Ultimate Showdown
Anyways, here’s how this setup goes:
- Start in Side Control
- Pin the opponent’s far arm down
- Bring your right arm out of its current hold
- Grab his wrist with your right arm
- Ensure your elbow is right beside his head
- Pin the same arm down
- Lean forward
- The opponent defends
Thus far, we’ve set up the Americana. It’s exactly like what you’ve learned in your BJJ class. But, once the opponent turns away from you to defend his arm, you’re going to attack using the North-South Choke.
To continue our endeavor:
- The opponent defends
- Switch your hips to face his feet
- Wrap your right arm around his head (clockwise)
- Stay on your toes
- Walk toward his head
- Stay low to apply more pressure
- Wait for the tap
I promise it’s not as complicated as it looks. Watch the visual aid below to further understand how this variation works. Truly, fantastic execution and explanation by Nate Kleinfeld.
How to Escape the North-South Choke
There’s one way that’s prominent in escaping the North-South Choke. It’s actually relatively easy to learn and execute, as it’s a single move you can use when you spot your opponent going for this choke.
Once your training partner wraps his arm around your head, you want to think about this escape route. What’s his next step? That’s right; it’s to start walking toward your feet.
In that case, you want to turn around as soon as the opponent starts walking toward your feet. That’s the best way to escape the North-South Choke. The direction you want to turn in will be toward the opponent.
This is the most optimal way of escaping this potent choke. Do know, however, that once the opponent has walked toward your feet and is now parallel to you, you’re escape chances are slim.
North-South Choke Tips (Get More Taps)
The last section of this article will cover 4 tips you want to implement if you desire to get more taps using this submission. It can be quite difficult to trust this choke when you haven’t seen any results yet.
By implementing the following tips, you’ll overcome the initial barrier and start getting more results and taps with the North-South Choke.
So without further ado, let’s dive into the 1st one.
Tip #1 – Tighten your initial arm wrap
The 1st tip is about your initial arm wrap. When you wrap your arm, you want it to be as tight as possible. You likely can imagine why. But in any case, the tighter your hold, the more control you’ll have.
And the more control you have, the more likely you are to make this submission work. So when you wrap your arm around the opponent’s head, get in really deep and minimize the distance between your biceps and his head.
Tip #2 – Lean on your toes when turning
The 2nd tip is to lean on your toes when you turn. This will make you more balanced and allow you to tighten the choke naturally.
You see, when you have a tight arm wrap and begin turning while on your toes, your choke will naturally occur. But you must also use your body weight for balance and to apply more neck pressure.
So standing on your toes is key here.
Tip #3 – Use your body weight more when finishing
Thirdly, you want to use your body weight more when you go for the finishing blow. This choke relies on you using your weight for neck pressure. If, for example, you won’t use your body weight to apply neck pressure, there’s no way you’ll be able to finish.
So lean more using your body weight on the opponent’s neck and on your arm.
Tip #4 – Learn all the variations
Finally, it’ll be worth it to learn all the variations I presented in this article. I’ve heard a metaphor I had really liked and I think I’ll start using it more often. Anyways, you’re an artist. Now, the more brushes and colors you have on your palette, the more complicated paintings you’ll be able to produce.
This is exactly like BJJ. The more moves you know (brushes), the more options you have. So learning all the variations will make you a better grappler.
But of course, never pass on real mat experience.
Final Words
That’s it. This is the North-South Choke from many positions, such as Side Control, Knee on Belly, and the Kimura and Americana setups.
You’re now a more capable grappler than before you read this article, congratulations. You’re also ready now to step on the mat and get some real experience using this choke. This is excellent news.
You want to start practicing as soon as possible. And don’t forget to bookmark this article for easy access, so you’ll be able to learn the variants effectively.
The North-South Choke, however, isn’t the most effective choke. Follow this link to read about BJJ’s best chokes and how to perform each one. This will skyrocket your grappling game!
You can also sign up for our Email Newsletter to keep up with our blog posts and gain access to free martial arts/self-improvement courses!
Here are other articles you’d enjoy reading:
BJJ 101: Brabo Choke (Perform with Precision)
Short Choke 101 – BJJ Technique Breakdown
BJJ 101: D’arce Choke (Lots of Variations)
BJJ 101: Japanese Necktie (The Right Way)
Ezekiel Choke 101 – Complete BJJ Guide
Bow and Arrow Choke – From BJJ Beginner to Pro
BJJ 101: Ninja Choke – Complete Breakdown
BJJ 101: Helio Gracie Choke (From Closed Guard)
Lapel Choke 101 – From BJJ Beginner to Advanced
Mastering the Triangle Choke – Complete BJJ Guide