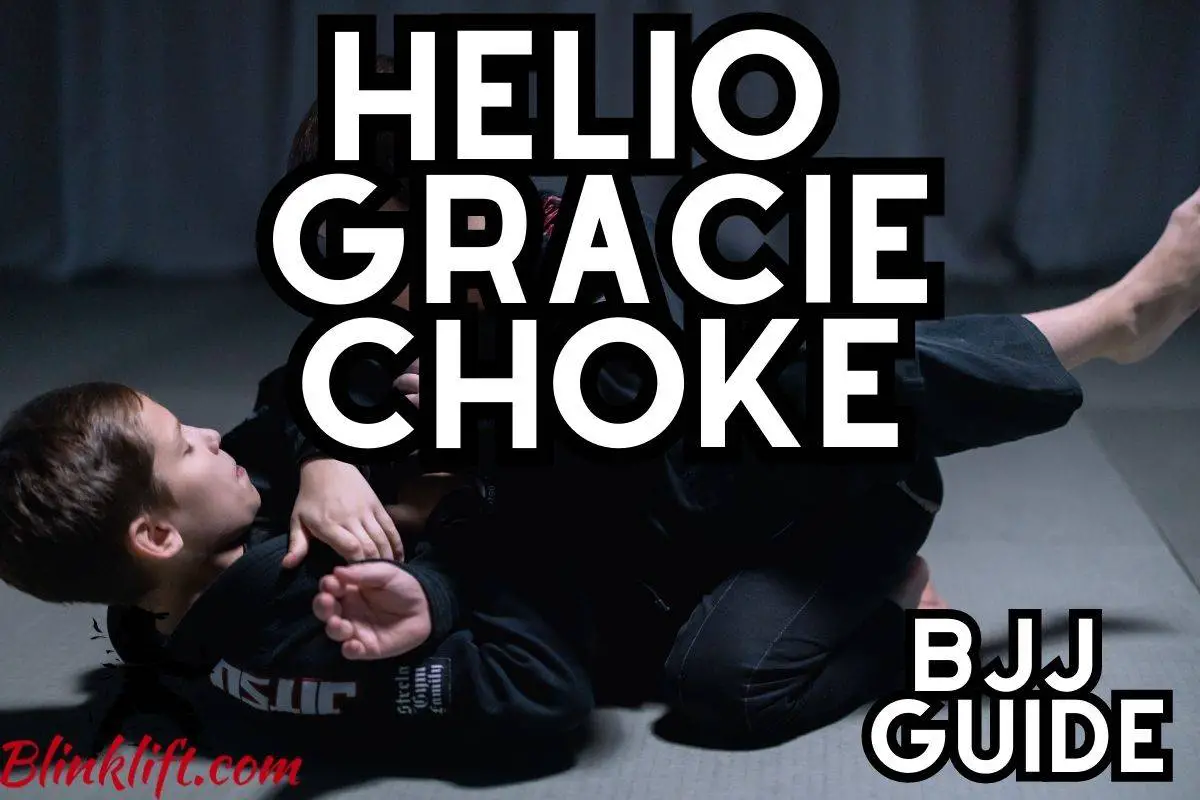
The Helio Gracie Choke can be a practical and excellent additional tool to your toolbox. Many BJJ masters emphasize the importance of constant learning, and we shouldn’t ignore that. Striving for more knowledge and information regarding BJJ—will make you a more competent grappler.
This article will cover the Helio Gracie Choke from the Closed Guard position. Now, let’s see what it is and where it originates from.
The Helio Gracie Choke, AKA Palms Up Choke, is a submission taught in Brazilian Jiu-Jitsu. It utilizes neck pressure to cause immense physical pain and trouble breathing. It’s called Palms Up Choke because your hands will be facing the ceiling when performing it.
It’s also an agonizing submission since you can inflict tons of physical pain if you perform it flawlessly. And this article will teach you to perform it perfectly.
This guide will be ordered in steps, so you want to follow along with each one. While some of them might seem obvious, I recommend reading the entire article, as I always include tips and mistakes novice grapplers make.
Let’s dive in!
Step #1 – Start in Closed Guard
The first step is to start in the Closed Guard position. If you’re unfamiliar with the Closed Guard position in BJJ or want to master your use of it, follow this link.
Anyways, the first step of this choke is to get into Closed Guard. You can attain it in many ways, which I describe in the complete breakdown I wrote about it (follow the link above to read it.)
But once you attain it, you can start thinking about this variation of the Helio Gracie Choke.
You want to start by playing with the opponent. Experiment with different actions to see how he reacts. Then, like in chess, you can start understanding how your opponent thinks and reacts to your actions, giving you a massive advantage in the fight.
But this is an advanced tip, so you can decide whether to implement it.
Step #2 – Grip the opponent’s lapel (Cross-Grip)
The 2nd step is to grip the opponent’s lapel. For the sake of the explanation, let’s assume you grip using your left hand.
Well, you want to grab the opponent’s right lapel using your left hand (cross-grip.)
There’s another fantastic choke named The Lapel Choke which I encourage you to learn by following the link!
Back to our discussion, you want to grip it deeply to ensure tightness in the future of your execution. It’ll be worth it to take another second to deepen your grip and reduce the probability of the opponent escaping anytime soon.
Step #3 – Open your Closed Guard
You now want to open your Closed Guard (release your leg lock.)
We’re now in a sequence of moves you want to perform one after another. A great way of doing so is by building a solid basis for your muscle memory. You can do that by practicing this sequence a lot.
What is the sequence exactly? The sequence here is steps #3-#6. You must not hesitate or take your time when performing these steps, as you’re most vulnerable here.
Opening your Closed Guard can lead to a world of trouble. Meaning that you want to advance into step #4 immediately after doing so.
Step #4 – Pull the opponent
Step #4 is to pull the opponent. You essentially are breaking his posture, allowing you to advance into step #5 smoothly.
Step #5 – Twist your body
The 6th step, the 3rd move in our sequence, is slightly twisting your body. For the sake of the explanation, let’s assume you’re twisting your body to the left.
Remember, you want to perform this immediately after you pull the opponent. You want to be as close as possible to his chest, allowing you more control when performing this submission.
The more space the opponent has, the less control you have, and the less likely you are to get this right.
Step #6 – Lock your guard
The last step of our 4-step sequence is to lock your guard. You’re now in a much better position. You can begin to control the opponent and threaten him with other submissions.
However, it’ll be best to continue with this Helio Gracie Choke variation so you can finish the fight quickly (We’re almost done!)
Here’s a video that showcases the steps we’ve discussed thus far. I recommend stopping after he closes his guard. Once he does that, return to the article (there’s going to be another video at the end.)
Step #7 – Go for the Cross Collar Choke
The next step is to go for the Cross Collar Choke.
How do you do that?
You want to insert your thumb inside his collar (on the other side of your current grip) while applying pressure (twisting your hands inward.)
It’s likely that you won’t be able to get this. On the other hand, there will be times when the opponent doesn’t know how to defend against this choke, and you’ll win.
Assuming he blocks your pressure and grips it with his hands, let’s move on to the 8th step.
Step #8 – Release your top-hand grip
Now that the opponent has blocked your Cross Collar Choke, release your top-hand grip. You’ll get the Helio Gracie Choke grip using the same hand soon, so prepare yourself for that.
Another common mistake many grapplers make here is not creating some space when they release pressure. You, as you can imagine, want to perform the transition quickly (the 9th step, which we’ll soon cover.)
Let’s see why you want to create a bit of space using your bottom hand when you release your top-hand grip.
Step #9 – Grip the opponent’s lapel with the same hand (Cross-Grip)
You’ve gone for the Cross Collar Choke, and the opponent has defended. Remember, you’re still in the Closed Guard position, so finishing the Cross Collar Choke will be difficult.
Before performing this step, you want to create space when you release your top-hand grip, which is a mistake many grapplers make (by not creating space.) Let’s see why.
Now, you grip the opponent’s lapel with a cross-grip with the hand you’ve let go. You want to flip it to be palm-up. That’s a cornerstone move to perform this submission correctly.
And you now understand why you want space. Sliding your arm under the opponent’s head and grabbing his lapel with a cross-grip can be tricky. Hence, creating some space beforehand to set this up will allow you to do so much more smoothly.
You want both your hands to be palm-up. That’s what the Helio Gracie Choke is all about. It essentially allows you to apply more pressure on your training partner, forcing him to tap out.
Step #10 – Apply pressure
The last practical step here is to apply more pressure. I know what you might think: isn’t it obvious? Well, not really, since many grapplers never think about applying more pressure once they finish the technique they’re performing.
Mostly, however, applying more pressure will be the difference between losing and winning a fight. So if your training partner is especially persistent, apply more pressure and wait for the inevitable tap.
Here’s another video showcasing this choke from the Full Mount position. While it’s different from what we’ve covered thus far, you’ll 100% benefit from watching it.
Step #11 – Wait for the tap
This step is a critical one. Let me tell you why by asking you a simple question: what is BJJ about? Now there are many answers to this question, but I’ll tell you what it’s not about.
BJJ isn’t about hurting your opponent and causing unnecessary damage. It’s also not about hatred and wrath but about comradeship and self-improvement.
Thus, once the opponent taps, release all pressure immediately. This is an excruciating choke; the opponent will tap out quickly after you apply a bit of pressure (step #10.)
Divert your entire focus to your training partner when you apply pressure. He might be unconscious, and you must release all pressure immediately. Please don’t play around with submissions, as they can seriously hurt you and your training partners.
Final Words
This was the Helio Gracie Choke from the Closed Guard position. Again, this can be a solid submission to have in your toolbox.
I’m an advocate of constant learning and experimentation. However, you also want to balance the number of techniques you learn and the number you master.
For instance, if you’re just learning and never diving deeply into one variation so you can master it, you’re limiting yourself. On the other hand, if you’re not expanding your toolbox and knowledge, you’re also limiting yourself.
Find the balance between the number of techniques you learn and the number you master. This can be a BJJ technique you end up diving way deeper than what an entire book can cover to master it eventually.
You can also sign up for our Email Newsletter to keep up with our blog posts and gain access to free martial arts/self-improvement courses!
Here are other articles you’d enjoy reading:
Ezekiel Choke 101 – Complete BJJ Guide
9 Most Effective Submissions From Mount (Must-Know)
BJJ’s 5 Most Effective Sweeps – Suitable for Beginners