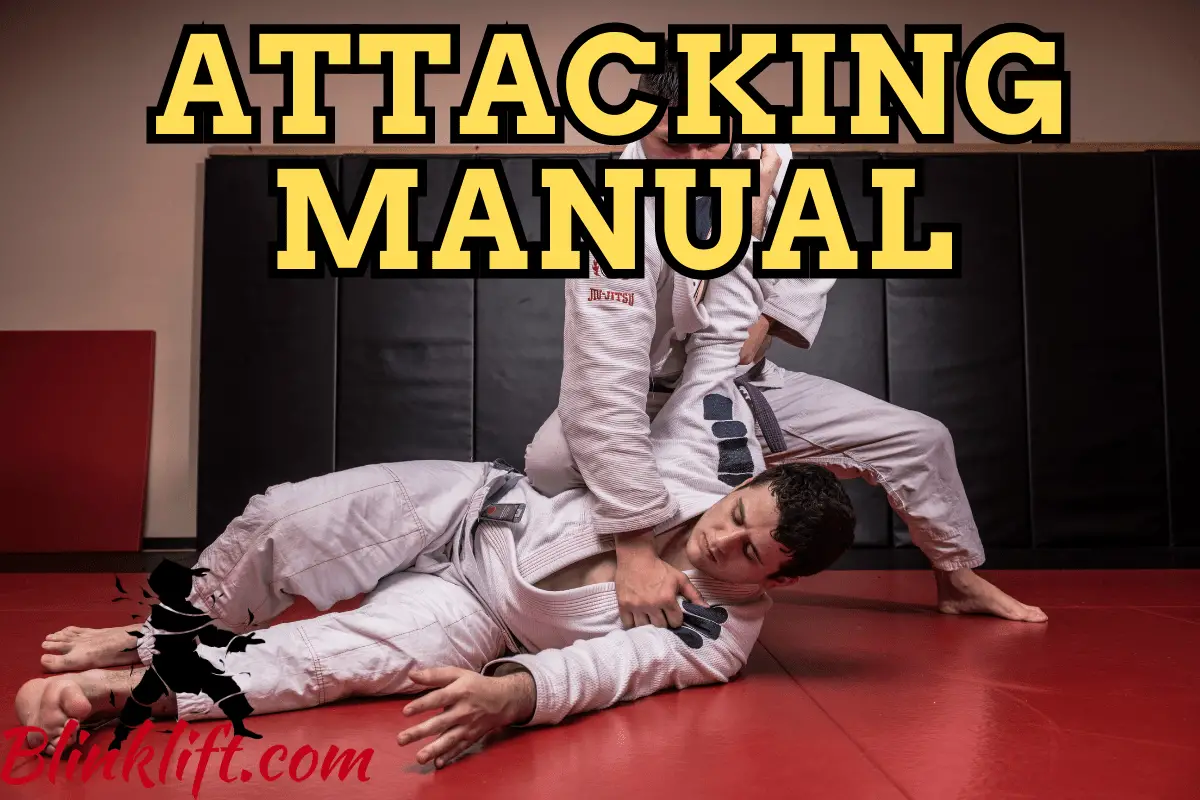
The Knee on Belly position is one you want to get comfortable with. Getting comfortable with it, however, isn’t enough. You want to learn to finish from it, especially if you desire to see more results from your BJJ training.
There’s nothing more satisfying than applying a submission and finishing the opponent, particularly if it’s a move you just learned recently. Now I’m a big fan of constant learning, so I advise you to read this article in its entirety. This will help you learn and understand all these moves.
This article is going to describe nine attacks from the Knee on Belly position. But before we do so, we’re going to define what the Knee on Belly position is. This is critical to understand before you get into the finishing moves themselves.
After you finish reading this article, your next step should be to get on the mat and practice what you just learned. This is the most difficult part of BJJ, and it’s what stops many trainees from progressing and achieving their complete grappling potential.
I want you to get on the mat already. So without further ado, let’s dive into the 1st part of the article:
What is the Knee on Belly Position?
The Knee on Belly, or Knee on Stomach, is one of BJJ’s most dominant positions. If you stay in it for 3 seconds in a competition, you’ll get 2 points, which is always welcomed!
But there’s a reason you get points for staying in this position. That reason is that it’s hard to maintain while being highly effective. You can go for many attacks from this position. But what is it exactly?
The Knee on Belly position is when you’re on top of the opponent and place your knee on his belly. Then, you push your knee against his stomach to gain more control over him. Finally, you base your other leg for balance (on the mat.)
You want to ensure you do a few things when you’re in Knee on Belly, such as:
- Keeping your posture straight
- Resting your shin, not your knee
- Placing your foot on the opponent’s hips
- Bending your other leg
- Using your body weight for more control
- Sitting on your heel
I have an article that describes these tips and covers many ways to set it up and attain the Knee on Belly properly. So if you want to read more about the Knee on Belly position, follow this link.
#9 – D’arce Choke
| Submission | Effectiveness | Simplicity | Overall Grade |
|---|---|---|---|
| D’arce Choke | 9/10 | 6/10 | 8/10 |
The first attack we’ll review is the D’arce Choke. It’s a fairly popular move, so you want to listen carefully and start practicing it as soon as possible, whether you’re a white, blue, or purple belt.
This variation is one of my favorites, as it allows you to apply immense neck pressure and force your opponent to tap out quickly. It’s also a fairly simple one, which makes it that much more attractive to novice grapplers.
Here’s how you perform it:
- Start in Knee on Belly
- Flatten the opponent’s hips
- Hook your right arm below his armpit
- Drive the same arm behind his head
- Place your forearm across his neck
- Grab your left biceps
- Bend your left arm
- Hook his right leg with your right foot
- Sit on your hip
- Squeeze your arms
- Get the tap
Although there are 11 steps in this variation, it shouldn’t take more than 4 seconds to execute. Imagine how unexpected this submission can be if you perform it correctly.
I’m aware that some people might not understand what these steps look like from written text. So here’s a video that further illustrates how this variation is done.
If you want to learn more about the D’arce Choke, including other variations, follow this link.
#8 – Brabo Choke
| Submission | Effectiveness | Simplicity | Overall Grade |
|---|---|---|---|
| Brabo Choke | 7/10 | 8/10 | 8/10 |
The Brabo Choke is a fairly uncomplicated move. What it allows you to do is apply immense neck pressure, especially against novice grapplers. But it also works against more advanced grapplers. You’d just have to invest more effort into the move.
Here’s how to perform the Brabo Choke from the Knee Slice guard pass. You’ll start the variation by passing the opponent’s Open Guard with the Knee Slice pass, and transition into the Knee on Belly position.
Here are the steps.
- Start in Knee on Belly
- Open the opponent’s collar
- Dig your right hand inside his collar and push the mat
- Push your knee downward
- Lean forward
- Pass your right knee across his right leg
- Base yourself on your feet
- Cross your left arm across his neck
- Grab his Gi with the same arm
- Use your body weight and lean forward
- Apply neck pressure with your left forearm
- Get the tap
This is the 2nd attack we reviewed. I hope that you can appreciate the knowledge and information this article provides. If you think about it, people would do anything to gain access to such articles back when the Internet didn’t exist.
And here you can learn nine different attacks within a few minutes. Nothing less than amazing.
Learn more about the Brabo Choke and how to increase your chances of making it work—by following the link.
#7 – Baseball Bat Choke
| Submission | Effectiveness | Simplicity | Overall Grade |
|---|---|---|---|
| Baseball Bat Choke | 6/10 | 7/10 | 6/10 |
The next attack we’ll cover is the Baseball Bat Choke. Like the Bow and Arrow Choke, the Baseball Bat is one of my favorites because of how it looks. Although looking good isn’t everything in BJJ, it’s definitely a benefit.
Here’s how to perform the Baseball Bat Choke from the Knee on Belly position:
- Start in Knee on Belly
- Grip the opponent’s right collar
- Dig deep into his far collar with your left hand
- Use a palm-up grip
- Maintain your hand grips while stepping into the North-South position
- Post your head on the mat (to the left of his hips)
- Place your knees on the ground
- Squeeze your hands
- Get the tap
As you can see, a straightforward move. You’d be able to get comfortable with it shortly after learning it. Therefore, it’ll be best if you learn it as early as possible in your journey, perhaps right now.
When you execute this choke, it looks like you’re holding a baseball bat. Hence, the name. The name can remind you of what the grips look like; your right-hand grips his close collar and your left digs deeply into his far collar.
Make sure to remember that and you’ll be on the right track to developing muscle memory for this submission and start getting taps using it!
If you want to master the Baseball Bat Choke, follow this link!
#6 – Bicep Slicer
| Submission | Effectiveness | Simplicity | Overall Grade |
|---|---|---|---|
| Bicep Slicer | 8/10 | 6/10 | 7/10 |
The Bicep Slicer is a controversial submission. This is because it can cause some serious injuries quickly, especially if you apply too much pressure too quickly. The opponent won’t have enough time to tap out and you’ll damage his arm.
So you want to be careful when executing the Bicep Slicer. I know that all submissions can cause damage in one way or another. But this is amplified. Please don’t let yourself too loose when applying pressure.
Now that we’re past the safety introduction, it’s time we dive into the practical steps of the Bicep Slicer. This is an excellent submission that can cause a lot of physical pain and force the opponent to tap out quickly.
Many claim that physical pain isn’t a positive in a submission. However, I would argue the opposite; you have to have physical pain for the opponent to tap. Can you imagine a good submission that doesn’t inflict a lot of physical pain and uncomfortability?
So here’s how to perform the Bicep Slicer from the Knee on Belly position properly:
- Start in Knee on Belly
- Pull the opponent toward you
- Base your left foot by his hip
- Step with your right foot and hook his right biceps
- Lock his same biceps with your other leg
- Turn to the other side
- Sit
- Finish by applying pressure on his isolated biceps
- Get the tap
Learn to master the Bicep Slicer by following this link!
#5 – Cross Choke
| Submission | Effectiveness | Simplicity | Overall Grade |
|---|---|---|---|
| Cross Choke | 7/10 | 7/10 | 7/10 |
The next submission we’ll review is the Cross Choke. As you can imagine already, it’s a favorite of mine. But there’s a good reason for that. It’s simple and easy to learn. All you’ll likely need is 2-3 practice rounds before you’re ready to pull it off in a real fight.
You’ll start to learn and practice it and the next time you’ll attain the Knee on Belly (and get the 2 points, of course!) you’ll immediately think of the Cross Collar Choke. And that will naturally occur to you because you develop muscle memory in practice. So it all becomes much easier.
So here’s how to execute the Cross Choke from the potent Knee on Belly position:
- Start in Knee on Belly
- Dig deeply into the opponent’s left collar with your right hand
- Bring the same arm’s elbow to your knee
- Your opponent turns to you
- Dig your other arm’s thumb inside his collar
- Block his hip using your knee
- Bring your left elbow down
- Apply contradictory directions of force
- Get the tap
You want to ensure you’re following two tips: the first is diving as deep as possible with both your hands. It’s important to do so to have a tighter grip, leading to more neck pressure. So that’s the first one.
The second one is to block the opponent’s hips from moving the entire time. That’s why you don’t want to place your knee too far ahead on the opponent’s belly. Instead, place it somewhere in the middle and block his hips by pushing it down to the mat.
This will limit the opponent’s maneuverability and ability to escape and defend himself. So this is the Cross Choke.
Learn to perform the Cross Choke perfectly from 4 positions—by following this link.
#4 – Triangle Choke
| Submission | Effectiveness | Simplicity | Overall Grade |
|---|---|---|---|
| Triangle Choke | 9/10 | 8/10 | 9/10 |
The Triangle Choke is perhaps the most effective choke BJJ has to offer. You want to know why? It’s because it’s (1) simple, (2) effective, and (3) applicable to real life.
I’ve seen street fights where one of the fighters was a BJJ trainee. Guess how that happened? His opponent couldn’t move and was forced to tap out (in a street fight!)
Once you got the Triangle Lock on someone, they’ll be incapable of escaping 99% of the time, which is what we aim for! This is why the Triangle Choke is a submission you want to learn as early as possible in your BJJ journey, preferably in the first few weeks of your training.
Here are the practical steps to executing the Triangle Choke from the Knee on Stomach position in BJJ:
- Start in Knee on Stomach
- Grip the opponent’s elbow
- Grab the back of his head with your right hand
- Pull the opponent
- Raise yourself up
- Slide your right leg behind his neck
- Fall to the right side
- Hook your left leg across his hip
- Lock your legs (Triangle Lock)
- Squeeze
- Get the tap
A book isn’t enough real estate to cover the tip of the fork of the Triangle Choke, so this section wasn’t enough. Follow this link to read a complete guide to the Triangle Choke, so you can master it quicker than everyone else.
#3 – Armbar
| Submission | Effectiveness | Simplicity | Overall Grade |
|---|---|---|---|
| Armbar | 9/10 | 7/10 | 8/10 |
Only three attacks left to go! I hope you’ve been able to appreciate this article thus far and the amount of knowledge that’s in here. Not to be arrogant, but I believe that these types of articles are what differentiate between the grapplers who want to succeed and end up succeeding and those who will quit.
So you’re definitely on the right track; Keep it up!
And now for the Armbar, one of BJJ’s classiest shoulder and arm manipulation submissions, from the Knee on Belly position:
- Start in Knee on Belly
- Base yourself on your left leg (not the Knee on Belly leg)
- Hook your right foot on his hips for more control
- Isolate the opponent’s right arm with your hands
- Hook your left leg around his head
- Follow up with your left leg to isolate his arm using your legs
- Pinch your legs together
- Ensure his thumb is facing up
- Hyperextend his arm toward you
- Arch your hips
- Get the tap
In my research, I’ve stumbled upon a fantastic instructional video that explains how to transition to the Knee on Belly position from your standard Side Control and how to base yourself properly.
Please don’t move to #2 before watching the video below; it’s only 80 seconds long but it provides extensive value.
The Armbar is one of BJJ’s classiest upper-body submissions. If you want to learn tips for performing the Armbar flawlessly, follow this link.
#2 – Guillotine Choke
| Submission | Effectiveness | Simplicity | Overall Grade |
|---|---|---|---|
| Guillotine Choke | 8/10 | 9/10 | 9/10 |
We’re now in the penultimate submission for this article. It has been a lot of fun for me to research the best attacks and come up with a list I believe. For #2, we have a popular choke, and not only in BJJ. In fact, many other martial arts teach it, such as MMA.
It’ll be worth it to learn the Guillotine as early as possible in your journey. You can execute it from most positions, such as Mount and Side Control. Learning as many of its variations as possible—will help you be capable of getting more taps, as more options are always preferable.
Without further ado, here’s how to perform the Guillotine Choke from the Knee on Belly position:
- Start in Knee on Belly
- Base on your left arm
- Shoot your right arm across his neck
- Wrap the back of his head
- Lean forward
- Balance on your shoulder
- Hook his right leg with your right leg
- Lock your hands
- Squeeze your arms
- Get the tap
Yet again, a fairly simple choke you want to learn early on in your BJJ journey. Look at how easy it is to execute it. I’m not saying it won’t be hard work to learn it properly, but you can definitely learn it quickly and with fair ease.
To master the Guillotine Choke, follow this link!
#1 – Kimura
| Submission | Effectiveness | Simplicity | Overall Grade |
|---|---|---|---|
| Kimura | 9/10 | 9/10 | 9/10 |
We’re in the last attack of this article. This has been fantastic, and I thank you for reading thus far.
The Kimura is perhaps the classiest of all submissions. You’ll learn it in your first few weeks of BJJ training since it’s a basic submission. All BJJ trainees know to use and perform it after having trained for over a month.
I actually encourage you to learn it as your first one, since you can learn in a short period and focus on other techniques as well. So without further intro, let’s dive into the steps to perform the Kimura from the Knee on Belly position:
- Start in Knee on Belly
- Your opponent pushes your knee
- Grab his wrist (of the arm that pushed your knee) with your right hand
- Lean on his arm
- Step forward with your left leg
- Land your left foot over his head
- Slide your left arm under his triceps
- Grab your right wrist
- Hyperextend the isolated arm to the side
- Get the tap
The Kimura is an absolute favorite of mine. It’s a must-know technique if you want to call yourself a grappler. So if you want to learn more about the Kimura and its other variations, follow this link.
Final Words
This has been a fantastic journey for me. I’ve had a lot of fun writing and researching attacks from the Knee on Belly position. It’s one of these positions that you must learn and get comfortable with to call yourself a grappler.
So I hope you enjoyed reading and found this helpful. Your next step is to get on the mat and practice what you just learned. There’s nothing more beneficial than hands and feet practice. So get on the mat and practice!
You can also sign up for our Email Newsletter to keep up with our blog posts and gain access to free martial arts/self-improvement courses!
Here are other articles you’d enjoy reading:
Attacking the Turtle Position in BJJ – 7 Submissions
BJJ’s 9 Best Back Submissions – Behind Enemy Lines!
BJJ’s Best Neckties (Japanese, Peruvian, German…)