
The Baseball bat choke is one of my favorite BJJ submissions because it utilizes the opponent’s movement to your advantage; most submissions and chokes will require you to be in a certain position. However, this choke will highly benefit from having the opponent do certain things.
The Baseball bat choke utilizes contrary pressure on the neck to force the opponent to tap out. Learning it can open your mind to new options; that’s why learning it will be beneficial even if you don’t use it.
It also has numerous variations (which we’ll examine in the next part of the article), which you can learn that’ll allow you to use them in real life and BJJ fights. So I encourage you to learn and stay tuned to ensure you can use this choke as you wish.
One tip I can give you regarding this article is to read each step and not skip any. That’s because I include in each step (even the most obvious one) ninja tips that’ll help you perform this submission flawlessly. For instance, starting in the side control will hold more information than just starting in the side control position. So, don’t skip any step!
Without further introduction, let’s dive into the first part of this complete breakdown:
How to perform the Baseball bat choke
This first part of the article will break down the steps to perform the Baseball bat choke from the side control position. Eventually, it became the most popular one. And it’s the one I encourage you to learn first.
In the next part of the article, I’ll present 4 variations I encourage you to pay attention to. You can learn them if you want. However, this is the one I encourage you to learn first, as it’s also the most effective one.
You can advance to more variations once you feel comfortable with this one. Alright, I’ve talked for enough (I was hoping you would stop my chit-chat.) So let’s break this side control variation down!
Step #1 – Start in the side control position
The first step is to start in the side control position. You want your posture to be balanced. If you over-lean forward or backward, the opponent can escape from your control and start attacking.
This is the last thing you want to happen.
Make sure to keep your posture balanced and start in the side control position. Likewise, you want to control the opponent’s hips and arms. You can execute many submissions that way, such as the Kimura, Triangle, Guillotine, and Armbar.
The best way to do so is to pass the opponent’s guard. But it’s much easier said than done. I have a different article on this website about BJJ’s best guard passes and how to gain side control effectively. Follow the link to learn more.
Alright, now that you have side control, you can continue to step #2.
Step #2 – Insert your thumb inside his collar
The second step is to insert your thumb inside his collar. The primary mistake people make with this one is they emphasize this step. You want to be stealthy about it to keep the opponent from not knowing you’re about to Baseball bat choke him.
Hiding your grips is the best lesson you’ll learn throughout this choke. You won’t be able to finish it if you give it away too early. Most advanced grapplers will notice you’re going for this choke if you grip his collar tightly. Instead, you want to stealth it out.
That’s the best piece of advice I can give you regarding executing this submission. Of course, you want to be as stealthy as possible about it.
This step really isn’t complicated. So, let’s go over the more complex steps.
Step #3 – Grab his collar with a 4-finger grip
The 3rd step of the Baseball bat choke is to grip his collar with a 4-finger grip. This and the 2nd step are the cornerstone steps of this submission. If you do it flawlessly, you’ll also finish the move with minimized troubles from the opponent’s side.
To not give your execution away, you want first to place your hand on his chest. Then, you can continue to grip his collar right at the end. This will make you more unexpected, allowing you to finish the choke more often.
Another tip regarding your grip is to ensure it’s not as tight as possible. It’ll be best not to grip his collar tightly but loosely. If you grab it too tightly, what will end up happening is you won’t be able to get the choke as tight as you need to be. It’ll be harder to twist it (as you’ll see in the further steps.)
So, make sure to be stealthy about it while grabbing it relatively loosely.
Step #4 – Shift your weight backward (come up on your knees)
The next step shouldn’t provide too many problems. You want to shift your weight backward while maintaining both your collar grips.
At this point, the opponent will likely start resisting your grips. Therefore, you want to ensure you’re keeping them tightly as if he can disconnect your grips; all the work you’ve done disappeared.
So, come up on your knees while maintaining a balanced posture. Then, shift your weight from the forward side control position a bit backward and get up.
Step #5 – Twist your elbow in (applying pressure)
The next step is also a cornerstone, as it’s the first time you’ll apply real tight pressure onto the opponent.
You want to twist your elbows inward; this tightens the choke a bit, making the opponent less capable of escaping your hold.
That’s why it can be critical to start applying the pressure early. Now, some opponents will be sure you’re already applying the submission, and so they’ll tap out. So be on the lookout for that; if the opponent taps, you win, and there’s no point in continuing with the choke.
It’s not enough pressure to cause most people to tap out, especially more advanced grapplers. Consequently, you want to advance into the following step.
Step #6 – Walk to the side
To remind you, you got up on your knees and twisted your elbows. The following action you need to take is to walk to the side (toward the opponent’s head.) You want to stop once you’re parallel to the opponent’s body.
That will allow you to cause much more pressure and tighten the choke around his neck. Again, some opponents will tap out once you twist your elbows. However, most of them won’t until the 7th step (the next one.)
As a result, make sure not to skip this part of the choke, as it’s the finishing move. Alright, 7th step, let’s dive in.
Step #7 – Head down, bottom up
Now that you have walked to the side and are parallel to the opponent’s body position, you want to place your head down and raise your bottom up.
This will tighten the choke and more than multiply the amount of pressure you’re putting on the opponent’s neck.
You must not skip this step, as most opponents won’t tap out if you’re not doing it correctly. You want to ensure you don’t skip it unless you don’t want (for some reason) to apply more pressure.
Putting your head down will allow you more room to twist your hands and squeeze. The same applies to your bottom.
Step #8 – Wait for the tap
The last step is to wait for the tap. You’re done with the Baseball bat choke by the 7th step (head down, bottom up).
But, you want to pay more attention once you apply the pressure. It won’t take more than a few seconds for the opponent to tap (if it’s a competition. In training, the opponent will likely tap right after the 7th step.
As a result, you want to pay extra attention to the opponent. Is he breathing? Is he unconscious? If he’s tapping out, you must release all pressure immediately. Likewise, you want to focus on these questions and pay attention to the opponent.
You can seriously hurt someone with a choke (contrary to the common belief.) Thus, you want to apply pressure (like you’re taught to) and release it as soon as possible once the fight is over.
So, this is my breakdown of the Baseball bat choke from the side control position. Now, it’s time we go over the 4-variations I recommend you learn. But, again, learning them doesn’t mean practicing them. But, you’ll become a more capable grappler by grasping and learning their concepts.
Baseball bat choke variations
This part of the article will break down some of my favorite variations of the Baseball bat choke. If you want to master it, you must learn (not necessarily practice) all the variations.
You should know by now that I’m a fan of learning as much as possible about what you’re doing, especially in martial arts and life in general.
This translates here to learning all the possible variations to expand your knowledge and open your mind up to new ideas. That will make you a competent grappler, capable of being more dynamic than anyone else.
Without further introduction, let’s dive in.
Variation #1 – Baseball bat choke from over-under
This variation is exceptionally tight. You can apply a lot of pressure with this one. What’s unique about it is that you’re letting the opponent pass your guard. The best thing is starting from the over-under position, not the guard position.
That is typically a position you don’t want to be in. Nonetheless, this Baseball bat choke variation allows you to utilize the opponent’s moves to apply pressure. The basics are the same; you want to start by grabbing his collar. Once you do that, you’re good to go for the rest of the execution. Let’s break this variation down:
You want to start in the over-under position (bottom position); the next step is to grab the opponent’s collar. You now want to make some room, wrap your other hand around his head, and hold his collar. The final step is to wait for the opponent to try and pass you and twist your elbow and your body.
All that’s left now is to wait for the tap.
Variation #2 – Baseball bat choke from side control
We’ve already broken down this variation, so I’ll keep it short.
The Baseball bat choke from side control is, perhaps, the most effective variation. You want to start in side control and insert your thumb in his collar. Then, 4-finger grip his collar with your other hand while coming up on your knees. Next, twist your elbows in while walking to the side and finish the move by lowering your head and raising your bottom.
This is definitely the variation I recommend learning first, as it’ll give you a solid basis and grasp moving forward.
Variation #3 – No-Gi Baseball bat choke from Knee on Belly
This variation is one I have seen numerous times. However, I’ve never he the chance to learn it, as few coaches teach it. But it seems as if it’s rising in popularity. And so, I thought it was only suitable to include it in this article.
You want to start in the Knee on Belly position. The next step will be to connect your hands to his neck and connect and grab each other. You then want to cut your knee outward while tightening your grip. The final step is to lower your head while twisting and applying more pressure.
Variation #4 – No-Gi Baseball bat choke from side control
This is yet another variation of the Baseball bat choke from side control. However, wearing a Gi doesn’t require you, which is excellent news for my No-Gi audience.
So, let’s break it down:
The first step is to start with side control. Then, wrap one of your hands around his neck (palm down) and the other on the other side. You then want to lock them up while driving your elbow toward his side (from his chest.) The final step is to elevate the opponent’s head and wait for the tap.
All the rules I mentioned in my complete step-by-step breakdown apply to this one. You want to pay extra attention to the opponent when applying the choke, as you want to avoid hurting your partner. When you feel the tap, release all pressure at once.
Alright, this was the 2nd part of the article. If you want to learn more about another effective BJJ choke, the Loop choke, follow the link!
Now, let’s advance to the last part of the article, the Q&A.
When should I use the Baseball bat choke?
The Baseball bat choke is best used when you’re in side control and have control over the opponent’s head. While you can go for other submissions in that case, such as the Kimura, the Baseball bat choke is a suitable submission to go for in that position. You can also apply it from the closed guard position.
Is the Baseball bat choke effective?
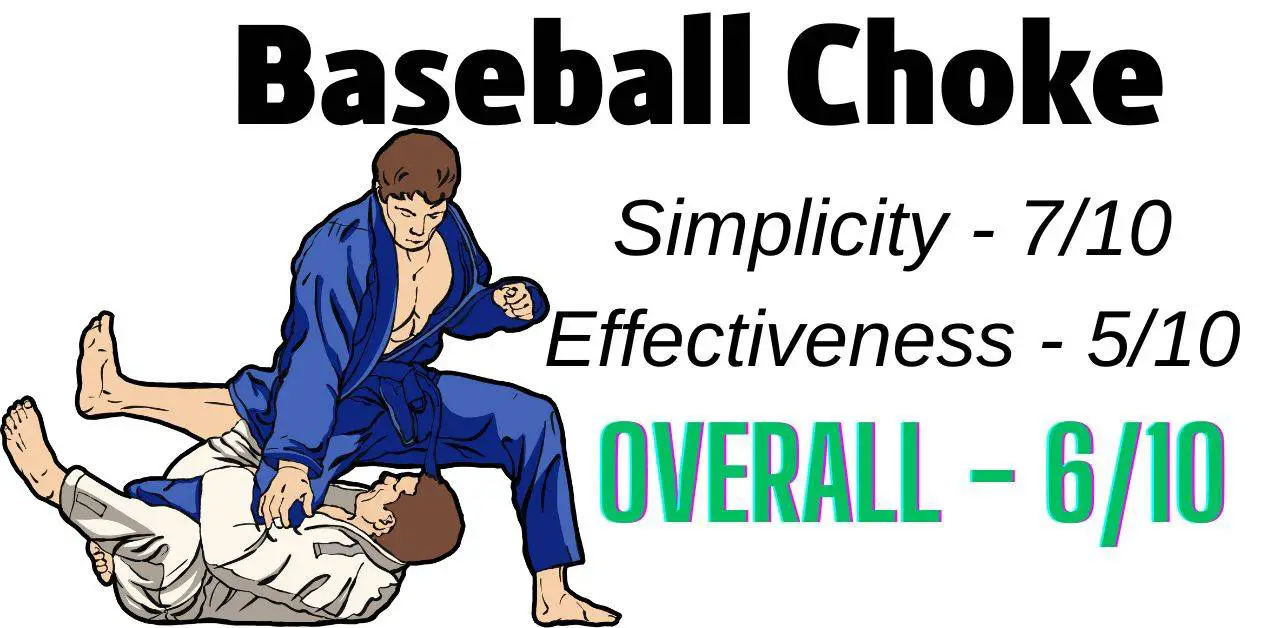
The Baseball bat choke is a highly effective BJJ submission, allowing you to apply high pressure levels on the opponent’s neck. As a result, if you perform it accordingly, the opponent will have no choice but to tap out. Also, it’s fairly uncomplicated to learn and execute, making it more attractive to new BJJ trainees.
Should I learn the Baseball bat choke? (BJJ)
All BJJ practitioners, new or advanced, should learn the Baseball bat choke, as it’s a highly effective submission you can use from various positions (both with and without Gi.) It’s also relatively simple to learn, so new grapplers can start by learning it to get their first wins and build a solid basis going forward.
Final words
This is it. We’ve already reached the end of the article; I love researching and writing these breakdowns because I feel as if I’m learning about new techniques with you.
I believe that learning is the first part of getting better at anything in life, especially in BJJ and martial arts. As a result, I hope you have gotten a few things out of this article. I try my best to include tips that’ll help you perform this submission flawlessly and get more tap-outs.
But the Baseball bat choke isn’t the most effective submission. If you want to hone your grappling abilities, I encourage you to read another article of mine on the best BJJ submissions from side control.
And you’d also enjoy reading these articles if you enjoyed this one: