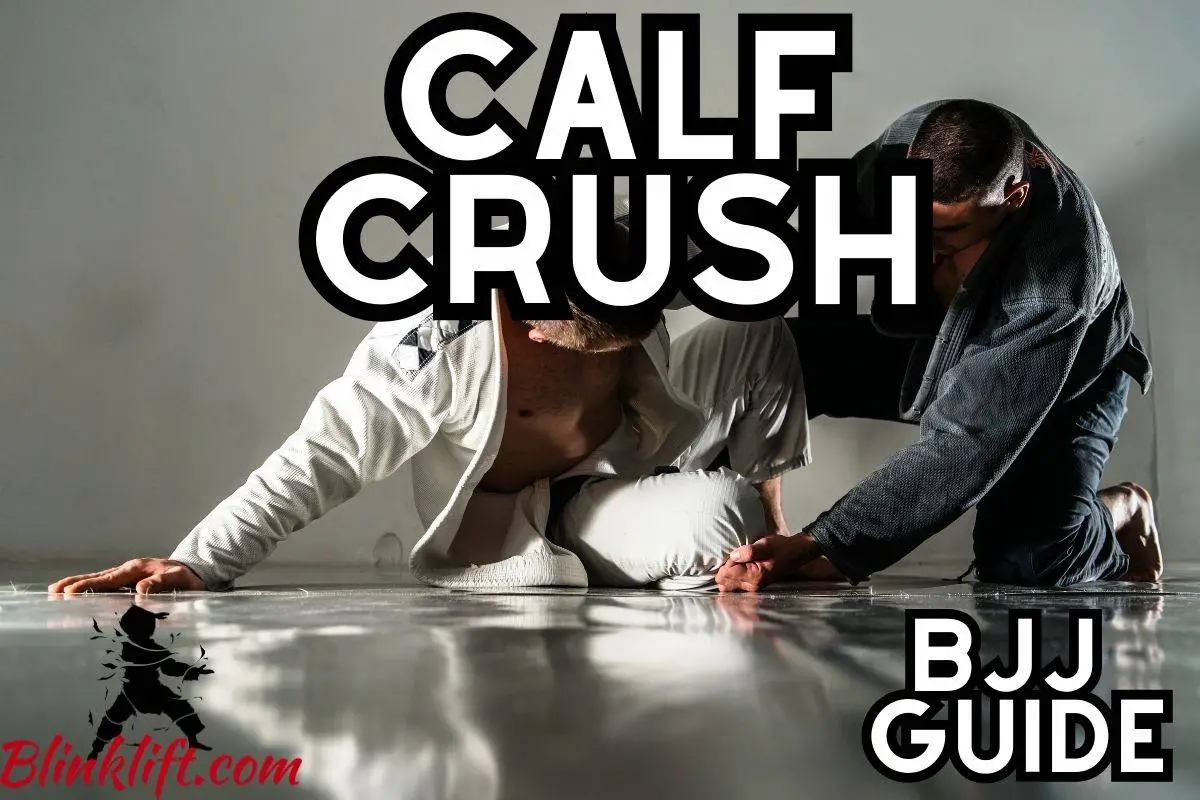
The Calf Crush, also known as the Calf Slicer, is one of BJJ’s most influential and practical leg locks. It allows you to apply force in various directions, forcing the opponent to tap out quickly and depart you as the winner.
Knowing to use leg locks is critical, even if you’re not a fan of using them. Your opponents will find it threatening and, thus, defend their legs. That limits their ability to perform various moves, which can cause offensive threats.
The Calf Crush utilizes pressure on the calves. You can cause permanent damage if you’re not careful when using it, as it’s a highly effective, influential leg lock. You’ll pull the opponent’s leg when facing the other direction, causing a lot of stress and forcing the opponent to tap.
Fighters in both MMA and BJJ use the Calf Crush. There were many instances where a fight ended in the UFC due to such a technique.
This article will review its primary variations and break them down into steps. Then, likewise, it’ll break down one of these variations into its deepest components, allowing you to master this variation.
So let’s dive into its variations and how to perform them flawlessly:

Calf Crush Variations
The Calf Crush has many variations. Likewise, each coach you’ll learn from—will teach a slightly different style. As a result, it’ll be best not to feel overwhelmed when you come across a way of executing a technique you haven’t learned.
Instead, embrace your learning journey by grasping as much knowledge as possible from as many coaches as possible.
That’s why I appreciate you for reading this article. You have consciously decided to learn from someone who synthesizes many variations and gives you tips that will help you become a more competent grappler.
You’ll be a better grappler after reading this article and getting some practice. So let’s discuss the 4-primary variations of the Calf Crush you want to learn to start expanding your knowledge and see more results with leg locks.
#1 – Calf Crush From Turtle Position
BJJ has many positions you wouldn’t usually think about using. However, these positions can be exceptionally effective. For instance, the Turtle Position is one of BJJ’s most dominant positions.
You can follow this link to read about BJJ’s most dominant positions and how to perform each one.
You can attack the Turtle Position using this variation of the Calf Crush. Let’s see how it’s done:
- Your opponent starts in the Turtle Position
- Hook your leg around his leg
- Turn around in the opposite direction of the opponent
- Grab the opponent’s toes (with both your hands)
- Lean back and sit
- Place your other foot on the opponent’s other leg
- Push the other leg
- Pull the opponent’s leg in (the one you’re targeting)
- Wait for the tap
This variation can cause some severe damage, mainly if you apply force in two directions, the first by pushing the other leg and the second by pulling the other leg.
I don’t often say this, but it’s genuinely one of BJJ’s most effective leg locks. Your opponent will be forced to tap out, especially if he’s not interested in you breaking his leg. So make sure to use your power wisely.
Don’t apply pressure too quickly, or you’ll cause permanent damage the opponent might not be able to recover from.
#2 – Calf Crush From Side Control
Side control is another dominant position you want to familiarize yourself with. It allows you to go for countless submissions, such as the Kimura, Americana, and Guillotine Choke. Learn how to finish from side control more often by following this link.
Here’s how to perform the Calf Crush from side control:
- Start in side control
- Face his leg (scarf hold side control)
- Hook the opponent’s leg with your leg (the one you’re targeting)
- Lock your legs
- Roll and grab the opponent’s foot
- Control the opponent’s other leg (the one closest to you)
- Pull the opponent’s foot down (the one you’re targeting)
- Wait for the tap
Getting this submission isn’t as difficult, although more complicated than the previous one. However, your opponent will not expect you to do it once you attain side control.
Generally, leg locks aren’t as standard from the side control position. That’s why this Calf Crush variation will help you be more unexpected.
Watch the video to solidify your understanding of this variation further.
#3 – Calf Crush From Reverse Mount
The reverse mount is a position you won’t end up in as much unless your grappling game revolves around it. Understanding this Calf Crush variation will allow you to learn to use this superior position better and win more fights.
- Start in the reverse mount position
- Be as tight as possible to the opponent
- Jump forward, landing on the opponent’s belly
- Hook the opponent’s leg (with your arm)
- Cross your leg on the opponent’s leg lock
- Lock your legs (on your feet)
- Pull your arms upward
- Apply more pressure
- Wait for the tap
It’s not as complex as it might seem. Getting into the reverse mount is perhaps the most challenging step in this system. After that, like all the other variations, you have a fixed step-by-step system to follow.
The opponent’s only choice here is to lock his legs when you hop on his belly. He knows you’re looking to finish the fight with a leg lock. So that’s why he’ll try to lock his legs and look to defend his legs.
You’ll be utilizing that and going for the Calf Slicer, which doesn’t require complete control of one leg. He can keep his legs locked and tight, and you’ll still be able to get the tap.
#4 – Calf Crush From Bottom Half Guard
The bottom half guard is a position where you might spend a lot of time. As a result, you’ll be able to use this variation more often than you might initially think.
The thing is—most grapplers you’ll face won’t expect you to go for the Calf Slicer from the bottom half guard. Instead, it’s a position where you’ll usually go for upper-body submissions. Follow this link to read about some of these upper-body finishing submissions.
Here’s how it’s done:
- Start in the bottom half guard position
- Sit up
- Underhook the opponent’s arm and reach to his back
- Your opponent will lock your head at this point
- Reach your other arm under the opponent’s hips
- Grab the opponent’s foot (with both your hands)
- Pull the opponent back
- Place your other foot on the opponent’s other leg
- Push your other foot
- Wait for the tap
This variation is beautiful. I love seeing people teaching the submissions I’ve seen so many times before in such an excellent way.
My recommendation is to learn from many coaches, especially on YouTube. You’ll be able to grasp so much more knowledge that way and become a better grappler.
Remember, the more knowledgeable you are, the more likely you are to progress faster. But knowledge isn’t everything, of course. You must keep practicing the submissions and moves you learn to continue seeing results and progress faster as a grappler.
Now let’s dive into the step-by-step breakdown of the Calf Crush and what makes it a leg lock you want to learn.
I’ll get as deeply as possible into each step while revealing the most common mistakes grapplers make (both novice and advanced) and offer practical solutions to these mistakes.
So let’s dive in.
Calf Crush – Step-By-Step Breakdown
Alright, so we’ve reviewed 4 variations of the Calf Crush. It’s time we break the first variation down into its core components.
What this part will help you do is give you the fundamentals of this variation. Then, you’ll be able to skyrocket your success rate when you use it, as you’ll be able to control the opponent much better.
And BJJ is all about control. It’s about fixing the minor details to ensure you can get the opponent to tap out.
So let’s dive into the steps and cover many mistakes novice grapplers make when they first learn this variation. Likewise, I’ll offer practical solutions to these mistakes, allowing you to start your learning journey with an advantage.
- Your opponent starts in the Turtle Position
- Hook your leg around his leg
- Turn around in the opposite direction of the opponent
- Grab the opponent’s toes (with both your hands)
- Lean back and sit
- Place your other foot on the opponent’s other leg
- Push the other leg
- Pull the opponent’s leg in (the one you’re targeting)
- Wait for the tap
Step #1 – Your opponent starts in the Turtle Position
The first step is for the opponent to be in the Turtle Position. You can force the opponent to get there in many ways, which we’ll not discuss in this article. However, you can follow this link to learn everything about the Turtle Position and how to use and attack it effectively.
Anyways, your goal will be to disable the opponent’s ability to escape his position. It can be quite superior if he can escape from it and transition to a more prominent position, such as back control.
Following this link, you can read more about BJJ’s most dominant positions.
Step #2 – Hook your leg around his leg
The 2nd step will be to hook your leg around the opponent’s leg. It’ll eventually be the one you’ll target. Spoiler alert: You want to isolate both his legs to ensure you can simultaneously apply force in two directions.
You’ll also want to hook this leg to ensure he’s unable to escape. Your hook should wrap around his ankle area and be as tight as possible. Do that—and you build a solid foundation for succeeding with this Calf Crush variation and getting the tap.
Step #3 – Turn around in the opposite direction of the opponent
The following step is to turn around in the opposite direction. You want to do that to prepare your initiative.
You’ll soon be applying much pressure on the opponent, and he’ll want to escape. Thus, a common mistake many grapplers make at this point is allowing the opponent maneuverability.
Remain as tight as possible, and the opponent will have nothing to do except sit and wait for his doomed future in this fight. 🙂
Step #4 – Grab the opponent’s toes (with both your hands)
The following step, which you want to focus on, is to grab the opponent’s toes. Using both hands will be better, as you’ll have a tighter grip – which will provide more difficulty for the opponent to escape.
You want to grab the toes as tightly as possible. As you might have noticed, this entire Calf Crush variation is about tightness. Remain as tight as possible throughout all the steps—and you’ll avoid the most common mistakes grapplers make with this variation.
At the end of the day, your opponent might find an escape route. When he does, he’ll do anything to utilize it and escape your mighty Calf Slicer. You avoid letting him make these entries by limiting his maneuverability caused by minimizing distance.
So get real close to the opponent. Then, hopefully, it won’t be awkward.
Step #5 – Lean back and sit
The next step is to lean back and sit down. Your opponent will start feeling pressure from this point. You want to ensure your leg hooks are still tight, so he won’t be able to escape.
This is a pretty easy step to understand. Some prefer doing it quickly, and some slowly. You want to experiment with this step to find your preference. I encourage you to start slow and accelerate once you feel ready.
Step #6 – Place your other foot on the opponent’s other leg
The following step will allow you to apply more pressure on the calf itself. You’ll do so in steps #6 and #7.
You apply the pressure by placing your other foot on the opponent’s other leg. You’ll see how this placement will apply the pressure right now!
Are you ready?
Step #7 – Push the other leg
The 7th step will be to push the opponent’s other leg. This, alone, creates immense pressure on the opponent. There’s a slight chance your training partner will tap out at this point, especially if he’s not as advanced.
This amount of pressure won’t be enough to force a tap out from advanced grapplers. Although some might be scared of the next direction force, as it’s a lethal submission you’re going for here.
Step #8 – Pull the opponent’s leg (the one you’re targeting)
The final step is to pull the opponent’s leg (the one you’re targeting.) If you perform both directions simultaneously, you can be sure the opponent will tap out.
There is so much pressure going on in this Calf Slicer you’ll be causing permanent damage if you don’t release the pressure immediately. That’s why the 10th step is more than critical to grasp.
Step #10 – Wait for the tap
The final step (not really) is to wait for the tap. The tap will come very soon, that I can say for sure. You want to be on the lookout for it. If you don’t release pressure immediately, you’ll be causing permanent damage (I’m not saying this to scare you, it’s a genuine possibility).
Don’t be like UFC fighters, who don’t release their submission pressure until the referee comes to separate them. They want to ensure they’ll win the fight; you’re not in the same situation as them.
So release all pressure as soon as the opponent taps.
Final Words
Reviewing this excellent leg lock was a blast. It’s truly an honor for me to have this platform to explain how you can manifest results by learning and practicing more.
You’ve been able to improve your grappling skills by reading this article. You’re already better, even without a single spar or practice. Nonetheless, the importance of training and experience should be known to you by this point.
I recommend learning each variation one by one and not simultaneously. Then, your body will react to learning them one by one better, as you’ll build muscle memory that’ll last for a long time.
The Calf Crush, however, isn’t the most effective leg lock BJJ offers. Follow this link if you want to learn about the BJJ’s best leg locks you must learn to start submitting more people and winning more fights!
And here are other articles you will like reading if you read thus far into this article:
Estima Lock BJJ Complete Guide