Learning the Nelson Necktie won’t take long if you learn it properly. That’s why I’ve decided to write a complete guide on it. So after reading this article, assuming you don’t skip any section, I’m confident you’ll be able to perform the Nelson Necktie.
Of course, nothing will ever replace good ol’ mat experience. You want to get on the mat as much as possible and experiment with this technique. You’ll be surprised at the amount of progress you can make if you decide to practice this technique seriously.
So what is the Nelson Necktie? The 1st part of the article will cover just that. Then, we’ll go over the basic steps of it and break it down into further detail. And lastly, we’ll review some nuances you want to get comfortable with and mistakes you should seek to avoid.
After all of this, you’ll be able to perform, or at least practice, the Nelson Necktie thoroughly. You’ll have everything you need to know about it and get your first real taps using it.
So without further ado, I want you to get on the mat and practice already; let’s dive into the 1st part of this guide!
What Is the Nelson Necktie?
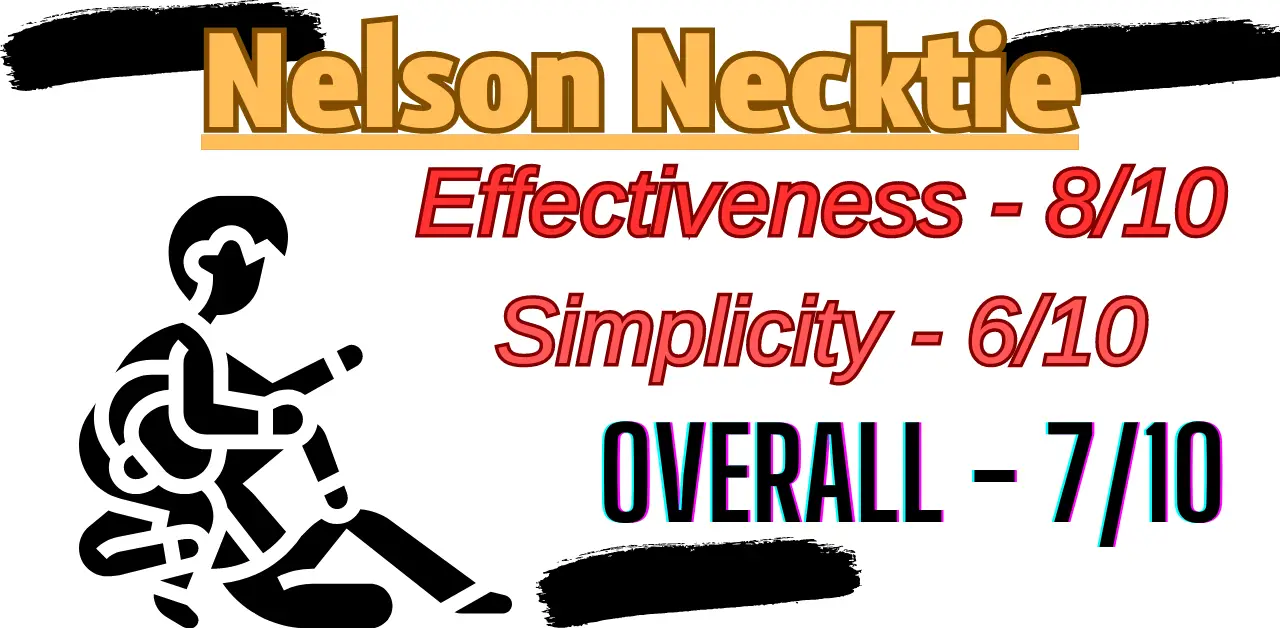
Alright. Let’s see what the Nelson Necktie is. Before we do that, however, I want to address something. It isn’t considered a popular BJJ move, although many grapplers are eager to learn it. And yet, people believe that unpopular moves are necessarily ineffective. I’ve found this to be practically untrue.
The Nelson Necktie is a choke in BJJ that requires your opponent to be in Turtle Position while you attain a 3/4 Nelson position. It’s an agonizing choke because you’ll use your knee against the opponent’s neck to cause more pressure and more physical pain.
I’ll assume you’re familiar with what a typical choke looks like. If you are, you saw the expression on the faces of the people who are getting choked. They’re in great pain! Now, what would you say if I were to tell you that you can apply even more pressure by adding another body part to the equation?
Like the Peruvian Necktie, which utilizes hamstring pressure together with arm pressure to force the opponent to tap out quickly, the Nelson Choke does the same.
Essentially, you’ll place your knee against the opponent’s neck while utilizing your legs for more leverage. You’ll see how to do that in the upcoming section; stay tuned for that!
How to Perform the Nelson Necktie
We’re now in the most important part of this article. We’ll now go over the core steps to perform the Nelson Necktie. After we’ll do that, we’ll break it down into further detail, so you can perfect your Nelson Choke execution.
Start in Three-Quarters Nelson to perform the Nelson Necktie. Then, bring your knee between your arms and lean back while hooking your far leg around your opponent’s back. Finally, push the opponent’s neck against your knee while squeezing your choking arm.
Let’s break this down.
The first part is to start with the infamous, highly effective, Three-Quarters Nelson. You want to use a 3-finger grip, as that will allow you more hand maneuverability, allowing you to apply more neck pressure.
The next step is to bring your knee between your arms and lean back. You want to sit on your heel. Following that, you hook your far leg (the same leg you sat on) over the opponent’s back. This will lead you to an uncomfortable position. However, you’ll be able to apply tons of neck pressure even when you’re uncomfortable.
Lastly, you squeeze your opponent’s neck against your knee while squeezing your arms. This means that you have force in two directions, which equals more neck pressure!
Watch the following video to deepen your understanding of this unbearably painful choke.
Nelson Necktie: Mistakes to Avoid
You want to avoid a few mistakes when executing the Nelson Necktie. Let’s review some of them.
Grip
The grip you lock in the first part of the execution should be a 3-finger grip. However, it can also be an S-grip, but avoid using any other one, such as the Gable Grip.
Why is that? One might ask.
The primary reasoning for that is the maneuverability you’ll have to squeeze your arms. Try to perform the choke and apply neck pressure with your arms when using the Gable Grip. You’ll see how that’s difficult to do, particularly more than the 3-finger grip.
So use the 3-finger or S-grip, and not other ones.
Apply arm pressure at the beginning
So there’s something I’ve hidden from you throughout the last part, and there’s a good reason for that. However, I want to reveal a ninja tip here which might help you finish more fights and tap the opponent out much quicker.
Are you ready?
You can squeeze your arms before leaning back and hooking your leg over your opponent’s back and still have enough neck pressure to force the opponent to tap out.
Yes, you don’t have to perform the 2nd part of the execution. If you do so, this necktie becomes much simpler. But it doesn’t become more effective. In fact, I would argue it becomes less effective, as you’ll have less force to generate since you’re not using your knee.
I’ve hidden this from you because I want you to habituate your mind to get comfortable with the 2nd part of this choke. The 1st part alone won’t work every single time. Heck, it might not suffice most of the time. So you want to know what to do when you’re unsuccessful when going for the choke from the Three-Quarters Nelson position.
What if the opponent escapes?
When you lean back and hook your leg over the opponent’s back, you’ll get into an uncomfortable position. This position allows you to apply extreme amounts of neck pressure on the opponent, but again, it’s uncomfortable both for you and your opponent.
What happens if, in this uncomfortable position, the opponent escapes?
In that case, you want to finish the choke by solely squeezing your arms. You’re already in a suitable position to do that. All you must do is apply contrary pressure over the opponent’s neck with your arms. Easy.
Should I Learn the Nelson Necktie?
So you now know to perform the Nelson Necktie. That’s fantastic. The next direction you should take is to get on the mat and start training! There isn’t a replacement for mat experience, so you shouldn’t avoid it. Some grapplers think learning this choke will not help. Let’s see whether that’s true.
Learning the Nelson Necktie is wise since it’s an effective choke that will allow you to (1) be more unexpected, which will make you a more competent grappler, and (2) force the opponent to tap out. So there’s no losing by learning to use this unbearably painful choke.
I believe that all grapplers have a toolbox. Each move you know, whether it’s a sweep, guard pass, or even a submission, is another tool you have in your toolbox.
Now the bigger your toolbox is, the more situations you’ll be able to face. It’s the same as a real toolbox. The more tools you have, the more problems you’ll be able to solve.
Think about BJJ this way—and you’ll improve your skills quicker than your peers.
Is the Nelson Necktie Effective?
My aim with this article is to make you, the reader, capable of using the Nelson Necktie after finishing reading. I’m confident that can be the case if you follow up with experimentation and real practice. But some of you may remain doubtful concerning the effectiveness of this move. So is it effective?
The Nelson Necktie is a highly effective choke since it utilizes your knee to apply more neck pressure on your opponent. Therefore, it’s going to be more painful than a standard choke, such as Bow and Arrow, Clock Choke, and the Anaconda Choke.
If you want to read about the best chokes you want to know–which are taught in BJJ, follow this link!
So yea. You should definitely learn the Nelson Choke, as it’ll allow you to start submitting your opponents with it shortly after learning and practicing it for a few times. It won’t be long before you’re capable of applying it regularly in your rolls and fights.
Before we wrap up this article, if you’ve ever wanted to train BJJ at home, your next step is to buy a grappling dummy. Follow this link to read about the best grappling dummies to progress as quickly as possible in your BJJ journey.
And now, let’s advance to the last part of this article.
Final Words
It’s time we conclude everything we’ve learned in this article. To recap, the first part explained what the Nelson Necktie is and why it’s effective. Then, the 2nd part demonstrated the proper execution of it. And lastly, the 3rd and 4th parts answered two common questions you might have asked yourself prior to reading this guide.
So, what’s next for you?
What’s next for the people who have read this guide is to get on the mat and gain real experience with the Nelson Necktie. No amount of guides and instructional videos can replace experience. Therefore, your next step is to get on the mat and start getting taps!
That said, the Nelson Necktie isn’t the most effective necktie out there. Follow this link to learn about the best neckties in BJJ and how to perform each one!
You can also sign up for our Email Newsletter to keep up with our blog posts and gain access to free martial arts/self-improvement courses!
Here are other articles you’d enjoy reading:
German Necktie 101 – BJJ Technique Breakdown
Peruvian Necktie 101: From Beginner to Pro
BJJ 101: Japanese Necktie (The Right Way)