Muay Thai classes can get costly. This intimidates many people from starting their training. These people are unwilling of spending a lot of money on training or learning to fight. First, I want to clear something off my chest. Training in Thai Boxing is worth 10 times the money you’ll invest in it, as you’ll gain countless benefits, both mental and physical.
However, starting your training at home is a fantastic choice to begin with. You can learn the basics—alone—without spending a single dime, which is perfect if you ask me.
So what we’ll do in this article is review the basic steps to start training Muay Thai at home. I’ve managed to condense the steps into nine steps so that by the end of them, you’ll be able to call yourself a good fighter. Of course, it’ll require you to work hard and invest time and effort, but it’s free of charge.
I hope you’re ready to learn. Make sure you either pull out a notebook and pen and write stuff down or bookmark this article. Returning to this information every time you’re advancing in your training—is mandatory if you truly want to see success from your training.
Let’s dive into the first step!
Step #1 – Create a Training Space
The first step might be extremely hard or easy for you. I can’t stress its importance enough because it’ll give you peace of mind and mindfulness when you’re training and putting in the hours. If you don’t follow through with it, you won’t be able to train for long periods, which is key to maintaining a steady yet exponential progression rate.
Set up a dedicated area at home where you can practice Muay Thai safely. Clear the space of any obstacles, and ensure you have enough room to move around. When you shadowbox, you want to have enough space to extend your leg fully while moving around.
I’ve not paid as much attention to this step when I started my training. However, I found out how critical it was when I learned spinning kicks and other advanced maneuvers.
And if you’re unable of clearing and dedicating a space for Muay Thai training, then you can find a place outdoors where you’ll train. It’s important to note that having a dedicated training space will help you stay more consistent with your training and fighting endeavors.
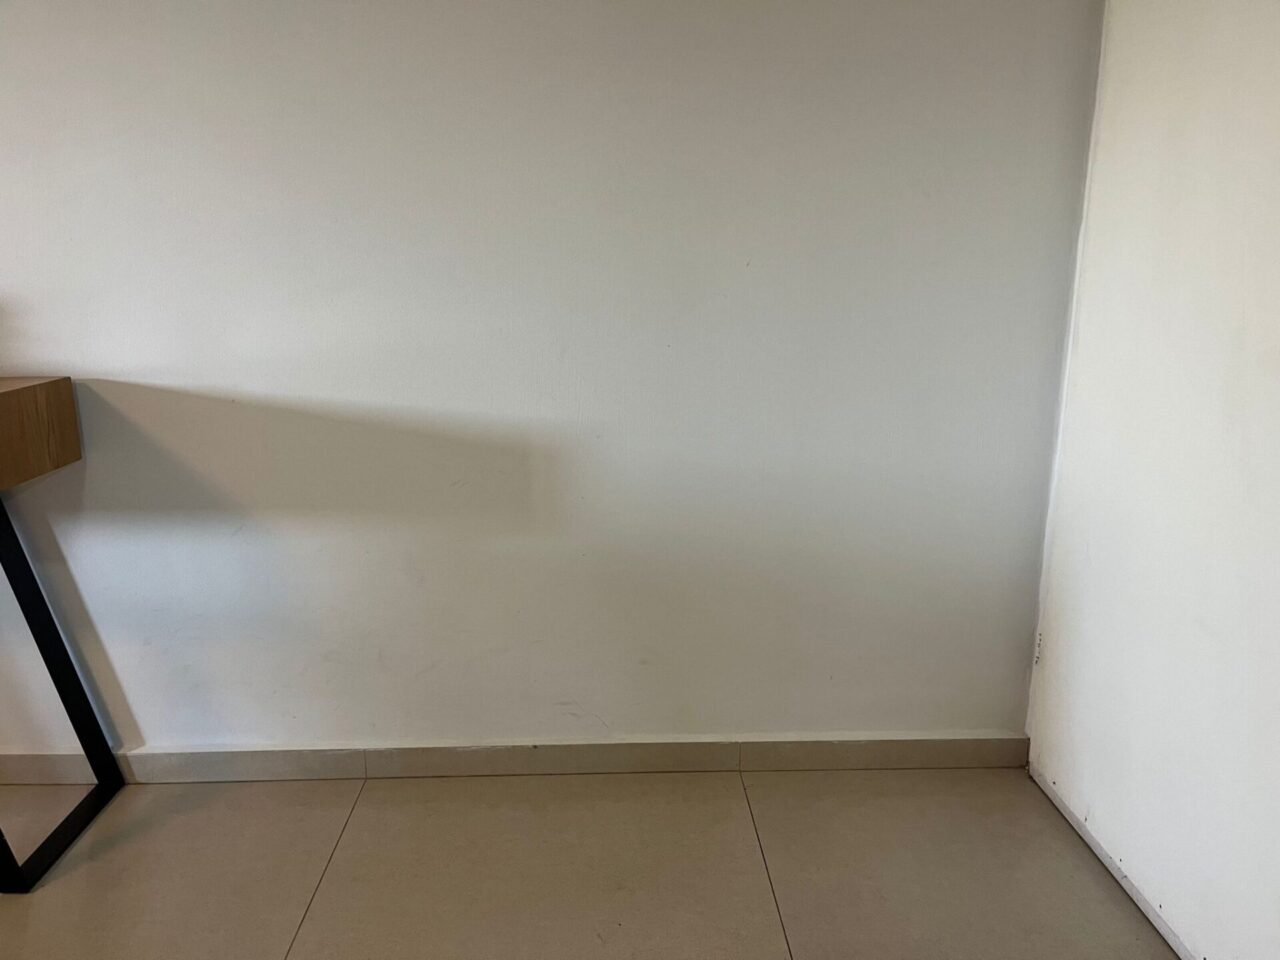
I’ve created mine, here it is.
Step #2 – Learn Muay Thai’s Fighting Stance
The second step is a fairly easy one. However, it’s easy to get this wrong and to continue learning the rest of the techniques without paying too much attention to it. So you want to ensure you’re 100% confident in your fighting stance. If you’re not, all the steps going forward will be slightly worse than what they could have been.
The fighting stance Muay Thai has is quite different than what Boxing or even MMA adopts. Every martial art has adopted a stance that serves its strengths and weaknesses the most. So while you can use a Boxing stance when you do Thai Boxing, it’ll simply be less effective.
First, you want to stand with feet shoulder-width apart while your front leg is facing forward. The back foot should be at a 45-degree angle to the side, which promotes stability and mobility. You then want to keep your guard up at about eye level and on the side of the face, so you can defend yourself from punches and high kicks.
A great tip here is to keep your chin facing downward, as that’ll give you more protection, which is critical.
Here’s what my fighting stance looks like:
Step #3 – Work on the Basic Punches
Now that you have your fighting stance, it’s time you dive a bit deeper into the world of Thai Boxing. The first step now is to learn the basic punches. Different coaches give different numbers to learn at first. I would urge you to learn the basic five, which are:
- Jab
- Cross
- Uppercut
- Hook
- Overhand punch
That’s it. Just these five and you’ll be able to move to the next step. Now, I want you to take your time learning these, as it’s the very foundation of your Muay Thai training at home.
I wrote articles on all five of these punches, which you can read by following the links below:
The Jab – Muay Thai Complete Breakdown
Uppercut 101 – Muay Thai Technique Breakdown
Perfect Your Hook in Muay Thai – Complete Guide
Mastering the Overhand Punch in Muay Thai – Complete Guide
Muay Thai – All Basic Punches You Must Know to Hit Fiercely
Once you got these down, you can continue to the next step.
Step #4 – Learn the Basic Kicks
Once you got the basic punches down, you can continue to learn the basic kicks. Kicks are an essential part of Muay Thai, and they can cause some real damage if you know how to throw one.
As a result, it’ll be worth investing your time into learning the basic kicks. And again, different coaches will tell you to learn different kicking techniques. However, here’s what I recommend you learn starting (in this order.)
- Low Kick
- Teep
- Roundhouse Kick
- Side Kick
- Switch Kick
To learn them, I have separate articles on each one explaining all the nuances and small details to perform each one. So follow the links below to read about each one:
Muay Thai – How to Use the Low Kick Effectively (More Power!)
Teep (Push Kick) 101 – Muay Thai Complete Guide
Roundhouse Kick 101 – Muay Thai Complete Guide
Side Kick (Diagonal Kick) – How to Perform (Martial Arts)
Muay Thai 101 – Switch Kick (How to Use Effectively)
6 Essential Kicks in Muay Thai & How to Perform Each One
Step #5 – Learn to Elbow and Knee
Now that you have your fighting stance down and you’re familiar with the five basic punches and kicks, you can advance to the next stage. The next stage is to learn to elbow and knee. For now, although there are numerous types of elbows and knees, we’ll stick to the most basic one.
To knee, you want to start in your fighting stance, grab the opponent in his head and pull him down while extending your knee. This is a close-range strike, like the elbow (which we’ll cover after this.) You want to use your hips and drive most of the force from there.
Here’s what the basic knee strike would look like (from my elite training space at home!):
For the second part of this section, let’s review the elbow strike. This is a critical strike to learn as well. But, there are numerous types of elbows you can start with. For the sake of clarity, we’ll review the most basic one.
So start in your fighting stance and turn your arm so it’s parallel to the floor. Then, step and lean forward while driving your elbow to the front, aiming for the head.
Step #6 – Buy a Heavy Bag/Find a Training Partner
You now know the basics of offense in Muay Thai. There’s one more thing left (we’ll review that in step #8.) Anyways, what you want to do now is take your training to the next level.
This step, although you might tell yourself that, is not optional. You must do one of the two options to notice an actual progression in your Muay Thai learning. I’ve been able to learn Muay Thai extremely quickly and become one of the best fighters in my gym because I’ve understood the importance of this step.
This step is all about finding resistance to train with. You have two main options. The first one is to buy a heavy bag for your home (or find one outdoors, if you have that option nearby.) Training with a heavy bag is much better than shadowboxing (like I’m doing in the videos.) You’ll feel your punches hitting something, which is going to help you progress quicker.
If you’re interested in buying the best punching bag, here’s the one I recommend getting to your home to optimize your training and results. Likewise, I wrote an article on the best punching bags on the market, so make sure to check it out by following to link.
The second option is to find a partner to train with. The same concept applies but with more viable options. You can train with focus mitts, Thai pads, or any other way you find to work.
To truly progress quickly, you must not skip this step, although it might seem unnecessary (it will if you’re a beginner, which is completely natural.) However, make sure to listen to someone who has been around the fighting gym’s block for a long time.
Step #7 – Work on Your Footwork
The next step is to work on your footwork. Now, you might not know what that means, which is what I assume is the case. So if you don’t know how to utilize footwork in Muay Thai, pay close attention.
Here are some basic footwork pointers:
Feet Positioning
- Stand with your feet shoulder-width apart in a slight diagonal orientation.
- The lead foot (front foot) should be turned slightly inward, pointing at about a 45-degree angle.
- The rear foot (back foot) should be positioned sideways, perpendicular to your opponent.
Weight Distribution
- Distribute your weight evenly between both feet.
- Keep your weight slightly on the balls of your feet to enable quick movement and easy shifting of weight during strikes and defenses.
- Keep your knees slightly bent, ensuring that you are agile and ready to move in any direction.
Hips and Shoulders
- Position your hips and shoulders in a squared-up stance to present a narrower target to your opponent.
- Avoid turning your shoulders too much, as it can leave you vulnerable to attacks.
Guard Positioning
- Raise both hands to form your guard. Your lead hand (front hand) should be around the height of your forehead, and your rear hand (back hand) should be near your cheek or chin level.
- Your lead hand should be slightly closer to your opponent than your rear hand.
- Keep your elbows close to your body to protect your ribs and midsection.
I wrote a complete footwork guide for the Muay Thai trainee, which you definitely want to read if you want to learn more about footwork in Muay Thai.
Likewise, I wrote another article on the seven best Muay Thai footwork drills you can do from your home to perfect your footwork. Make sure to read both articles for maximum results.
Step #8 – Master Combinations
Step #8 is all about offensive combinations. I hope you still remember how to kick, punch, knee, and elbow because you’re about to use everything we’ve learned thus far and combine it together. This is one of the most important skills in Muay Thai that differentiates between good and excellent fighters.
The eighth step is to learn and master combinations. This step requires most of the time you’ll spend learning Muay Thai at home since there are endless combinations that you can learn. Your primary focus should be on learning combinations that’ll help you in spars and competitions.
And again, it’ll be difficult to learn these combinations without either a punching bag or someone to train with. So it’ll be best to get your hands on one of them (not literally with the second option 🙂 )
Here are some basic combinations you can start with:
- Jab-Cross-Teep
- Jab-Cross-Hook-Low Kick
- Cross-Hook-Teep
- Jab-Teep-Cross
- Cross-Hook-Elbow
- Cross-Hook-Low Kick
- Cross-Hook-Cross
- Low Kick-Teep (Push Kick)
To learn more about combinations, I wrote two articles covering the best Muay Thai combinations for sparring and competing and the best ones for beginners. Follow each link to learn more about it.

Step #9 – Film Yourself and Review
The ninth, and last, step is to film yourself and review. The primary weakness you have with training anything without a coach is building bad habits without having someone fix them for you.
You see, when I first started my Muay Thai training, I did everything wrong. My guard wasn’t good enough, so I kept getting hit in the face. Also, my fighting stance didn’t have any rhythm, which just looked funny.
Frankly, I was awful. And I knew that I was awful, which is why I was very coachable and open to criticism. So you want to go through the same process while knowing that you’ll likely suck for the first few weeks.
The best solution to fix this weakness is to film yourself and send it for review. You can use Reddit, Youtube, quora, or any other forum or platform that will ensure people give you feedback. Be prepared for haters, however. These guys are everywhere!
You can also hire a coach to review your footage, but I don’t really see a point in that. Use the same money and attend a few Muay Thai classes if you’re going to send your footage to a coach. Enough people will do that for free.

Should You Learn Muay Thai at Home?
You now know everything you truly need to know to start training Muay Thai at home and see actual results. You have all the knowledge you need. Of course, I encourage you to still watch YouTube videos and keep reading guides on how to perform certain techniques, whether basic or advanced.
The question remains, is learning Muay Thai at home even worth it? The answer to that might not be so pleasant, but I still encourage you to read it.
Learning Muay Thai at home isn’t as effective as attending a group class and training there. The reason for that is you won’t have any feedback when you’re at your home training by yourself. You also won’t have real threats from another fighter, as sparring or doing any other work together isn’t an option.
And still, it’s a great place to start, particularly if you’re unwilling to spend money on Muay Thai training. I think both are just fine and definitely better than not training at all.
The takeaway is that, if you can, train in a group class in a qualified gym. If you can’t, however, training at home is the next best option, so you want to follow through with that.

If you want to learn what equipment is mandatory to buy for your home fighting gym to optimize progression, recovery, and learning time, follow this link.
Final Words
Let me wrap up this article by telling you what your journey will be like. If you’re truly serious about training at home (which you are because you’ve reached the end of this article), you’ll start learning. Then, a certain point will come where you feel too tired or too lazy to train.
This point is critical to identify and understand because you’ll know that it’s not real. It’s also a point of no return because if you don’t train when you don’t feel like training, then you’ll never be able to build a training habit, especially when there isn’t money or a coach on the line.
Start your training today. Don’t give up on yourself, you deserve to experience the other side of Muay Thai, which comes only from vigorous training. The other side is where all the benefits and results are, with no suffering or pain whatsoever. But you have to have both, you can’t just have one.
If you want to buy the best Muay Thai gloves to keep your hands and wrists as healthy and safe as possible, follow this link!
Here are other articles you’ll benefit from reading:
Muay Thai Glove Sizes – Which One Should I Get? (6-16OZ)
The 5 Best Muay Thai Pads to Maximize Progression
How to Use the Clinch Effectively in Muay Thai
Choosing the Best Muay Thai Hand Wraps – Showdown!
The 5 Best Mouthguards in Muay Thai – Protect Your Smile