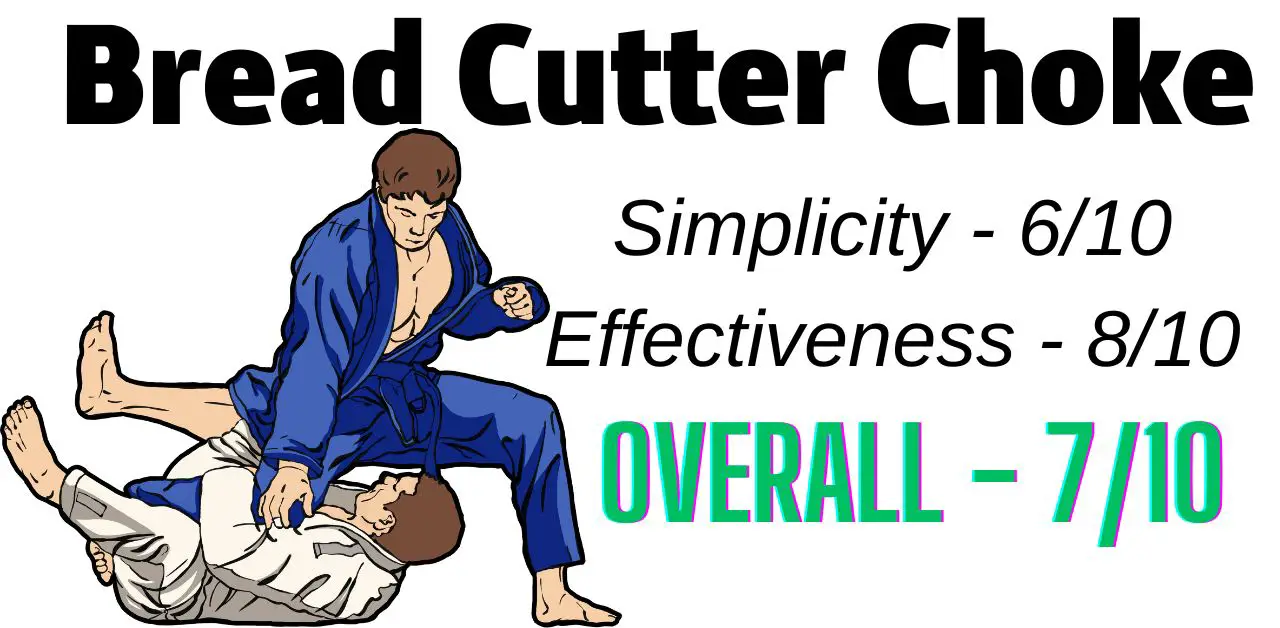
The Bread Cutter Choke is a highly effective and straightforward submission. Brazilian Jiu-Jitsu is the primary martial art that teaches it. However, you can apply it outside training, in the real world of self-defense and street fighting.
The Bread Cutter Choke utilizes neck and throat pressure to choke the opponent and force him to tap out. A few of its variations are so powerful you can make someone unconscious by applying it for a few seconds. That said, you want to enforce as tight of a choke as possible to make that happen.
But there’s a problem. Most novice grapplers will not perform this choke correctly. As a result, many of their opponents will be able to evade their offensive means and start attacking. We want to avoid that as often as possible.
To do so, we want to be as technical as possible and avoid common mistakes many grapplers will end up making when they learn the Bread Cutter Choke. This article will do that for you.
I always ensure my technique breakdowns are more than detailed. I aim to help you avoid the common beginner mistakes many grapplers make and allow you to use this submission successfully. I’m confident you’ll be able to do that if you read the entire article.
Now, let’s dive into the first part of this article.
How to perform the Bread Cutter Choke
Let’s dive into the first part of this article: A complete breakdown of the Bread Cutter Choke from side control. This variation is perhaps my favorite of the many we’ll review in this guide because of its effectiveness and simplicity.
You want to start in side control to perform the Bread Cutter Choke. Then, you lay your forearm on the opponent’s throat while placing your second arm under his far arm. The next step is to grab his collar with your second arm while pulling it backward and applying downward pressure with your forearm.
But don’t worry; we’ll break down the steps right now!
I get excited when I see a BJJ technique being effective and simple. But, unfortunately, it seems that one usually comes over another. However, it’s not the case with this variation.
I’m confident you’ll get many of your opponents with this Bread Cutter Choke variation because it’s pretty easy to learn and use. And it can be effective against more advanced grapplers, not just white belts.
You’re likely familiar with one variation from side control that only uses a single one of your arms. However, this one uses both your arms and thus allows you to apply higher pressure levels on the opponent’s throat and force him to tap out faster.
Step #1 – Start in the side control position
The first step is to start in the side control position. If you’re unfamiliar with it, it’s one of BJJ’s most dominant positions. From it, you can attack from various angles, such as going for the opponent’s arm and neck.
You want to start in that position for the Bread Cutter Choke variation we’re currently breaking down.
A solid guideline to follow is to control the opponent’s hips. He cannot react to your offensive means if you control his hips.
Another thing you can do is control his head. Then, he won’t be able to evade your offensive submissions, regardless if you’re going for the arm or the neck.
The variation we’re currently discussing will attack the opponent’s neck.
Step #2 – Grab the opponent’s collar (thumb inside)
The 2nd step is to grab the opponent’s collar. This a critical step, as without a firm, correct grip, you won’t be able to apply enough pressure to finish the fight.
So, make sure to have your thumb inside the collar. In addition, you want to have a 4-fingers grip outside his Gi while having your thumb inside.
Here’s a common mistake you want to get right:
It’s critical you get a firm grip on the opponent’s collar. You also want to be as stealthy as possible with this step simultaneously. So, you might need to find your balance before you start working on the next step.
Most novice grapplers will not grip tightly enough, as you want to have your thumb inside, which can be quite awkward. That said, you must emphasize having a firm grip if you don’t want the opponent to escape while ensuring a tight Bread Cutter Choke.
Step #3 – Lay your forearm on the opponent’s throat
The next step is to lay your forearm on the opponent’s throat. This is the cornerstone step of this Bread Cutter Choke. This will be how you apply most of the pressure on the opponent.
Thus, placing your forearm across the opponent’s neck would be best. At this point, you won’t be able to stealth it out. The opponent will feel you’re going for his neck, so he’ll start reacting.
This is why you must follow through quickly.
Step #4 – Place your other hand under the opponent’s arm
The 4th step is to place your other hand under the opponent’s arm (the far one.) You’ll see why you do that in the next two steps. But, spoiler alert: using this variation, you can multiply the amount of applied pressure on the opponent’s throat, allowing you to finish the fight more often.
This step is one that many novice grapplers skip entirely. They’ll also be missing steps #5 and #6, then. Frankly, it might work against more white belts, as you can generate a lot of pressure just by placing your hand under the opponent’s throat (step 3) and pushing down with your body weight.
And still, what if I said you could multiply the pressure levels you can generate by using your other hand? You’ll be able to finish the Bread Cutter Choke from side control more often, making you a much better grappler.
Step #5 – Grip his collar with your second hand
Now that you have slipped your second hand below the opponent’s arm, you want to grip his collar.
Many grapplers will avoid this step, as it complicates the entire technique. But again, make sure to perform it and not skip it.
The grip you want to have is firm and powerful. The opponent already knows you’re going for this choke (or for any choke.) Therefore, you want to act fast and be aggressive about it.
Now, if you can’t grip his collar, as there’s too much resistance, you can grip his arm or even shoulder.
Let’s see how you’ll use this grip to apply more neck pressure to finish this submission more effectively and technically.
Step #6 – Pull your second hand toward you
The 6th step is to pull his collar (or what you could grip) toward you. This is half of the setup you want to have to tighten the choke even further.
You want to pull his collar down. This step is critical, yet, most novice grapplers forget about it. However, if you want to ensure the tightest grip possible, you must pull down quickly and ensure you’re getting ready for the next step (the final one!)
Step #7 – Drop down your forearm on his throat
This step might be pretty difficult to execute for some. We have pulled down the opponent’s collar (or whatever you can grab). Now, we want to drop our forearm down. But, we don’t want only to do that.
We also want to drop our entire bodies on the opponent’s throat. It’ll be best not to rely on your strength, especially if you’re up against a stronger opponent than yourself.
Instead, you want to focus on getting your entire body in this motion. You’ll apply so much more pressure if you can make sure to do that.
Now, if the opponent blocks you, there’s something you can do to prevent his defensive means and affirm your victory. That thing is applying pressure with your head on the opponent’s neck. This will disable the opponent’s ability to block your moves and get you the tap out.
Step #8 – Apply more pressure
Remember, you have pulled his collar down while applying more downward pressure on the opponent’s throat.
Now, you want to apply more pressure until the inevitable tap out. If you did everything right while maintaining as much control over the opponent, there’s no reason you won’t be able to finish this Bread Cutter Choke variation.
You want to apply more pressure using your body weight and strength. However, your body weight should be the primary source of generating more pressure and causing a faster tap-out.
Step #9 – Wait for the tap
The last step is to wait for the tap. I always include this step in my BJJ breakdowns because I know how hard it can be to maintain focus on your training partner when your undivided attention is on applying the choke flawlessly.
However, you must pay extra attention to your opponent when you apply pressure (especially in step #8.) You must ensure you don’t miss the opponent’s tap, as he can go unconscious quickly, mainly if you perform this variation appropriately.
Once the opponent taps or you see anything strange with his reaction (maybe he’s unable to tap), release all pressure immediately. It’s better to miss a single win in training than to hurt your training partner permanently; please pay more attention to your training partner moving forward.
To wrap up, this is the entire execution of the Bread Cutter Choke from side control.
Bread Cutter Choke Variations
This second part of the article will discuss 3-variations of the Bread Cutter Choke. I’m a fan of learning as much as you can. This will allow you to get more creative in the future of your grappling career.
So, without further ado, let’s review the 3-variations I encourage you to learn!
Variation #1 – A Creative Bread Cutter Choke (Side Control)
This is yet another variation I wanted you to see. Eventually, it’s more complicated than what we’ve broken down in this article.
However, I’m confident it’ll open your mind and get you thinking. So, here it goes:
This variation includes starting in the side control position. You then want to loop the opponent to grip his collar eventually. Finally, you want to apply pressure using your elbow and other arm to finish this submission.
Variation #2 – Bread Cutter from Side Control
We’ve already broken down this choke, so let me keep it short and simple.
You first want to get into a solid side control position. Then, it’ll help if you can control the opponent’s hips and arms. The next step is to lay your forearm on the opponent’s throat while grabbing his collar with your other hand. Finally, you want to apply pressure with both your arms.
Variation #3 – Bread Cutter Choke from Bottom Side Control
This variation is also a creative one. It’ll be best to learn it if you’re perhaps trying to open your mind to think more creatively. Eventually, you want to use it when the opponent has side control over you.
Few submissions allow you to submit the opponent when he has side control over you. As a result, I’m a fan of this one, as it will enable you to turn a lousy situation into a victory.
You want to start in bottom-side control and open up some space by pushing the opponent upward. Then, the next step is to insert your hand over his arm and grab his collar with your other hand; the grip should be with your thumb inside. Finally, you lock your arms and start twisting.
I encourage you to learn this technique if you want to get more creative. Likewise, it can be highly effective in the bottom side control position, as few grapplers are even familiar with it, let alone know how to defend against it.
Should I learn the Bread Cutter Choke?
You should definitely learn the Bread Cutter Choke if you’re training in any martial art (such as BJJ, Judo, GJJ, and MMA) because it’s a highly effective choke that’ll allow you to submit your opponent swiftly. And it’s also a relatively simple submission to initiate, especially from side control.
Is the Bread Cutter Choke effective?
The Bread Cutter Choke is one the most effective chokes in martial arts if performed correctly. It utilizes neck and throat pressure, which is extremely painful and will allow you to force the opponent to tap out quickly. But, many grapplers don’t apply enough pressure, as they only use one hand.
When should I use the Bread Cutter Choke?
It would be best to use the Bread Cutter Choke submission when you’re on top (either in mount or side control.) Likewise, you want to have access to the opponent’s throat, so you must face his belly and not back. If you have access to the front of his head, you can use this submission.
Final words
I know stepping out of your comfort zone and learning a new submission can be difficult. However, it’ll be more than worth it after you’re done.
You’re now a more capable grappler just by reading this article. Hopefully, you’ve been able to take take a few concepts or things with you. And, if you haven’t started training yet, now’s the time to do so.
The Bread Cutter Choke, however, isn’t close to being BJJ’s most effective submission. If you want to learn about the absolute best finishing submissions from the side control position, follow this link!
You’d also enjoy reading the following articles if you enjoyed reading this one: